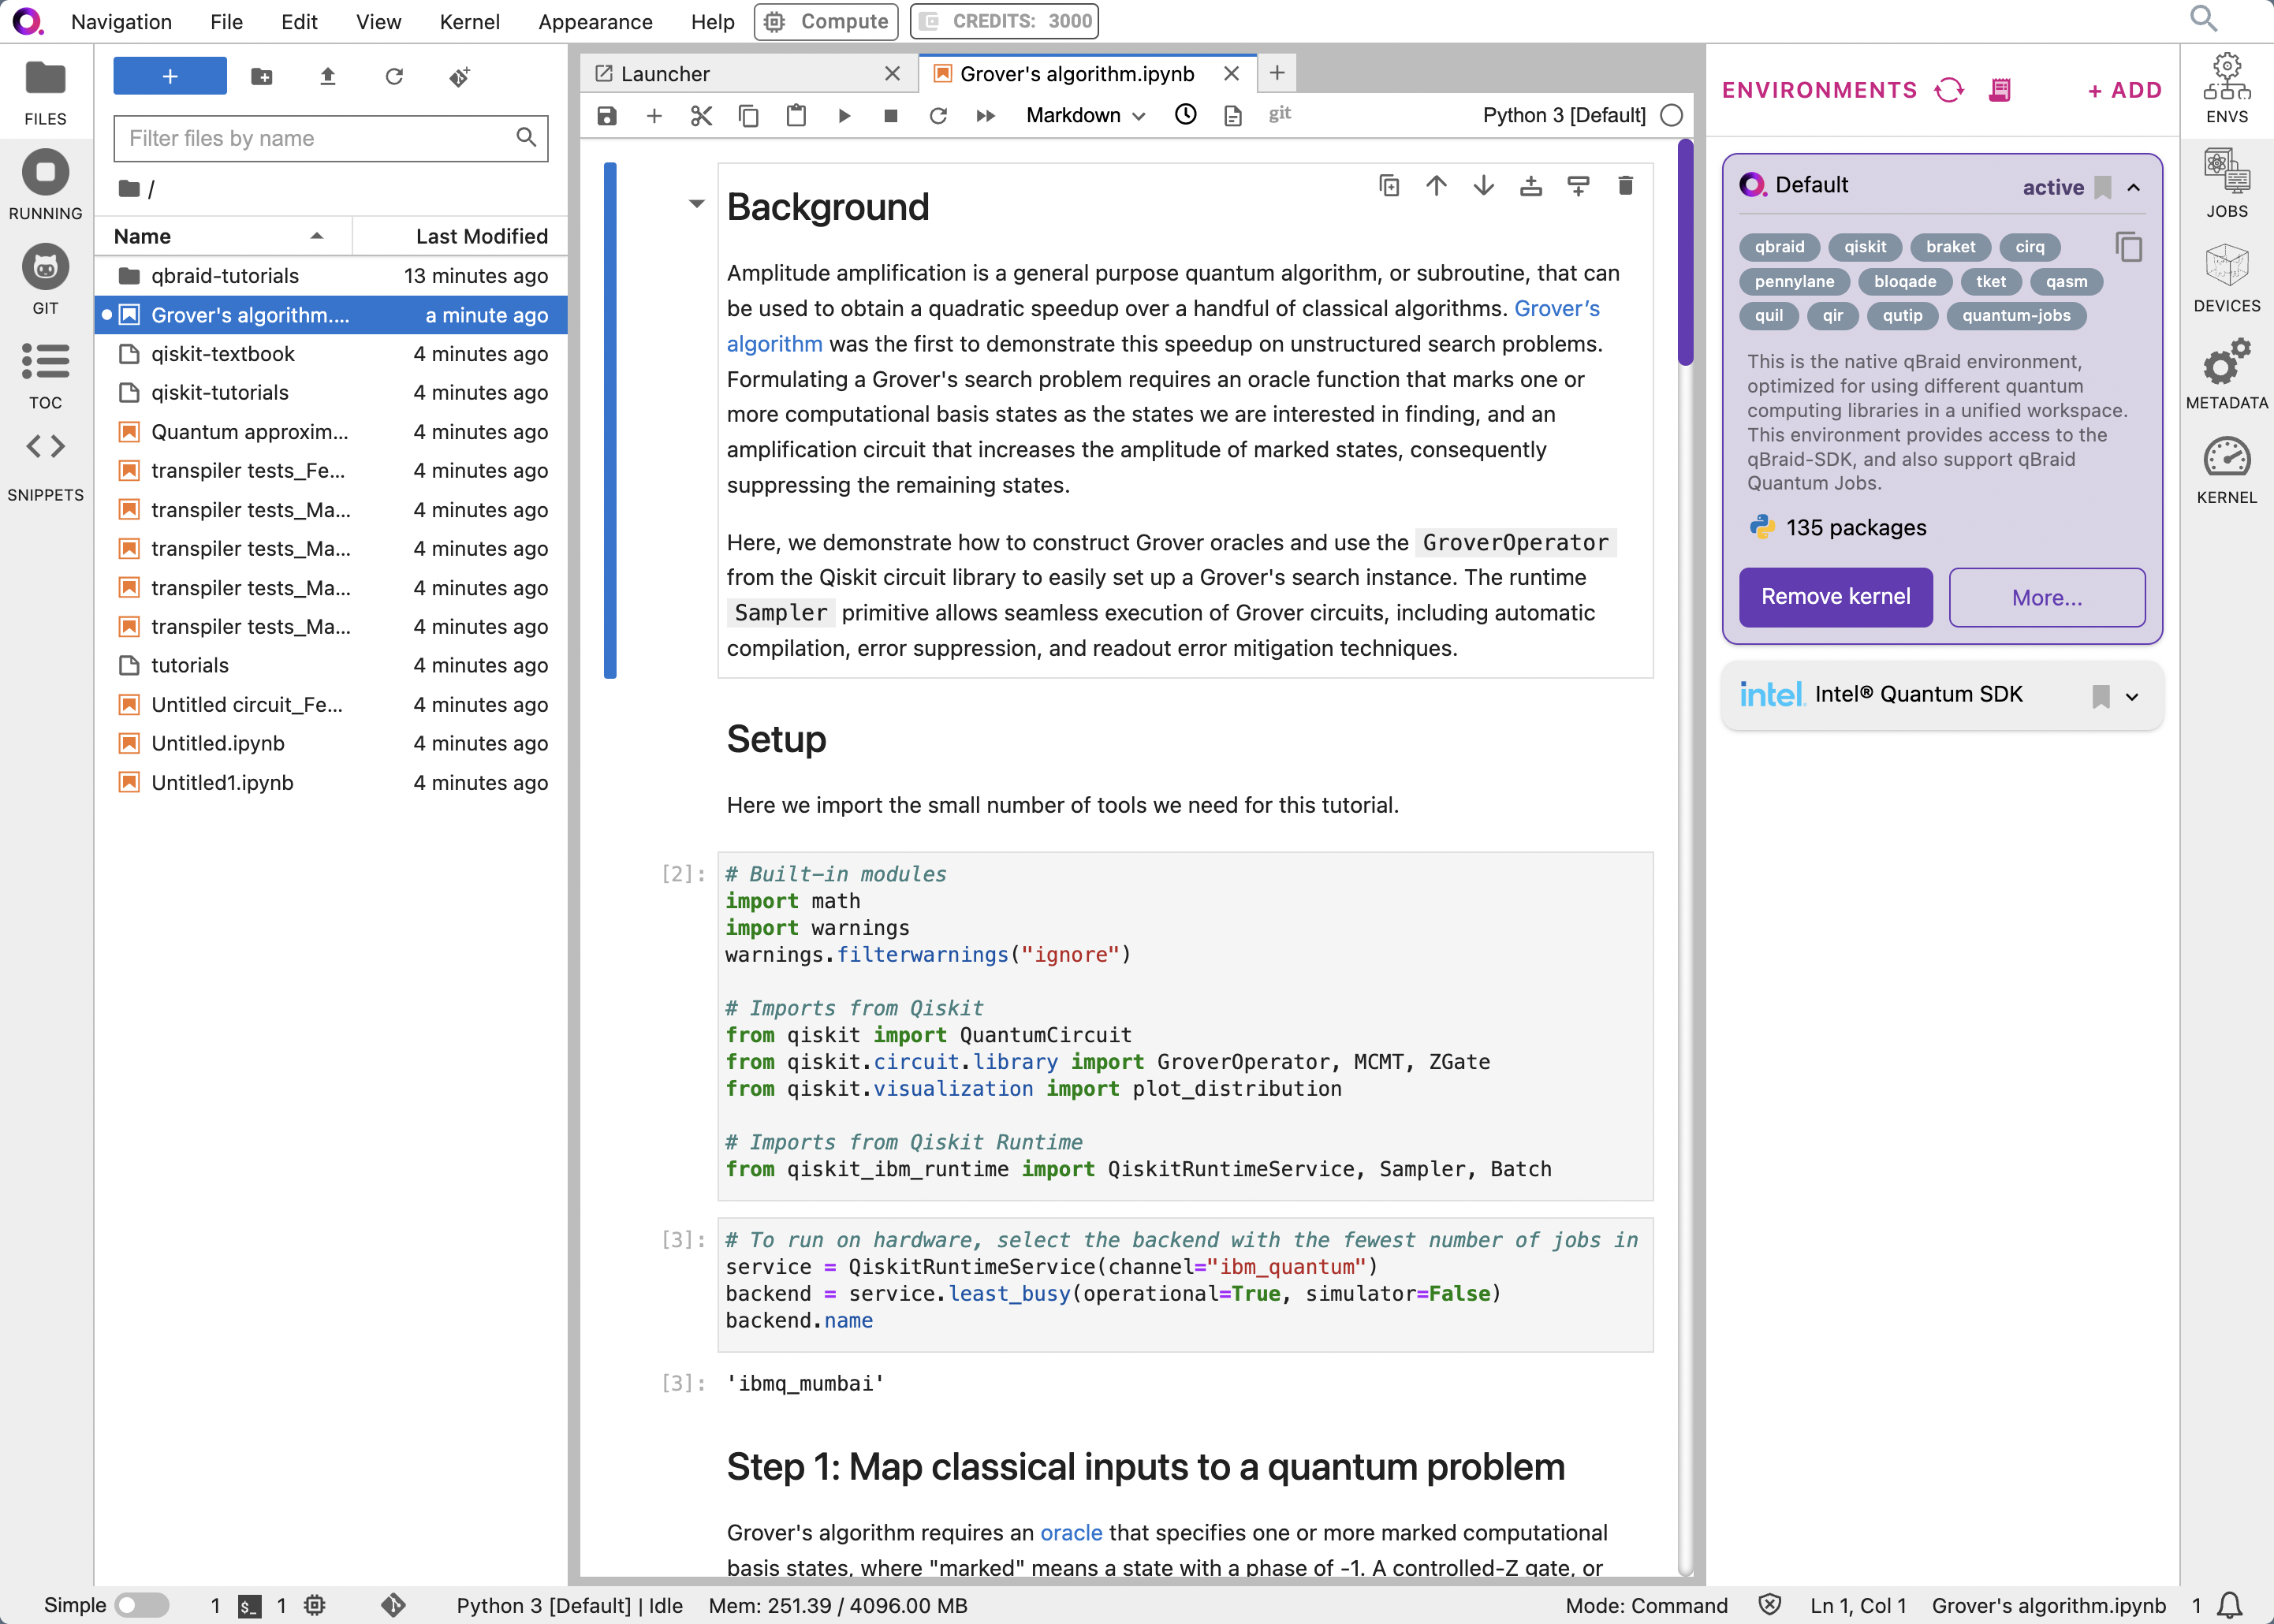
All data will be deleted from IBM Quantum Lab servers on 15 November, 2024.
Make sure that you download everything by then; you can re-upload your
projects onto qBraid Lab.
Step 1: Download
To start the migration process, you will need to download your files from IBM Quantum Lab.1a. Visit IBM Quantum Lab and log in.
Go to the IBM Quantum Lab. Upon landing, it will prompt you to enter your IBMid and password.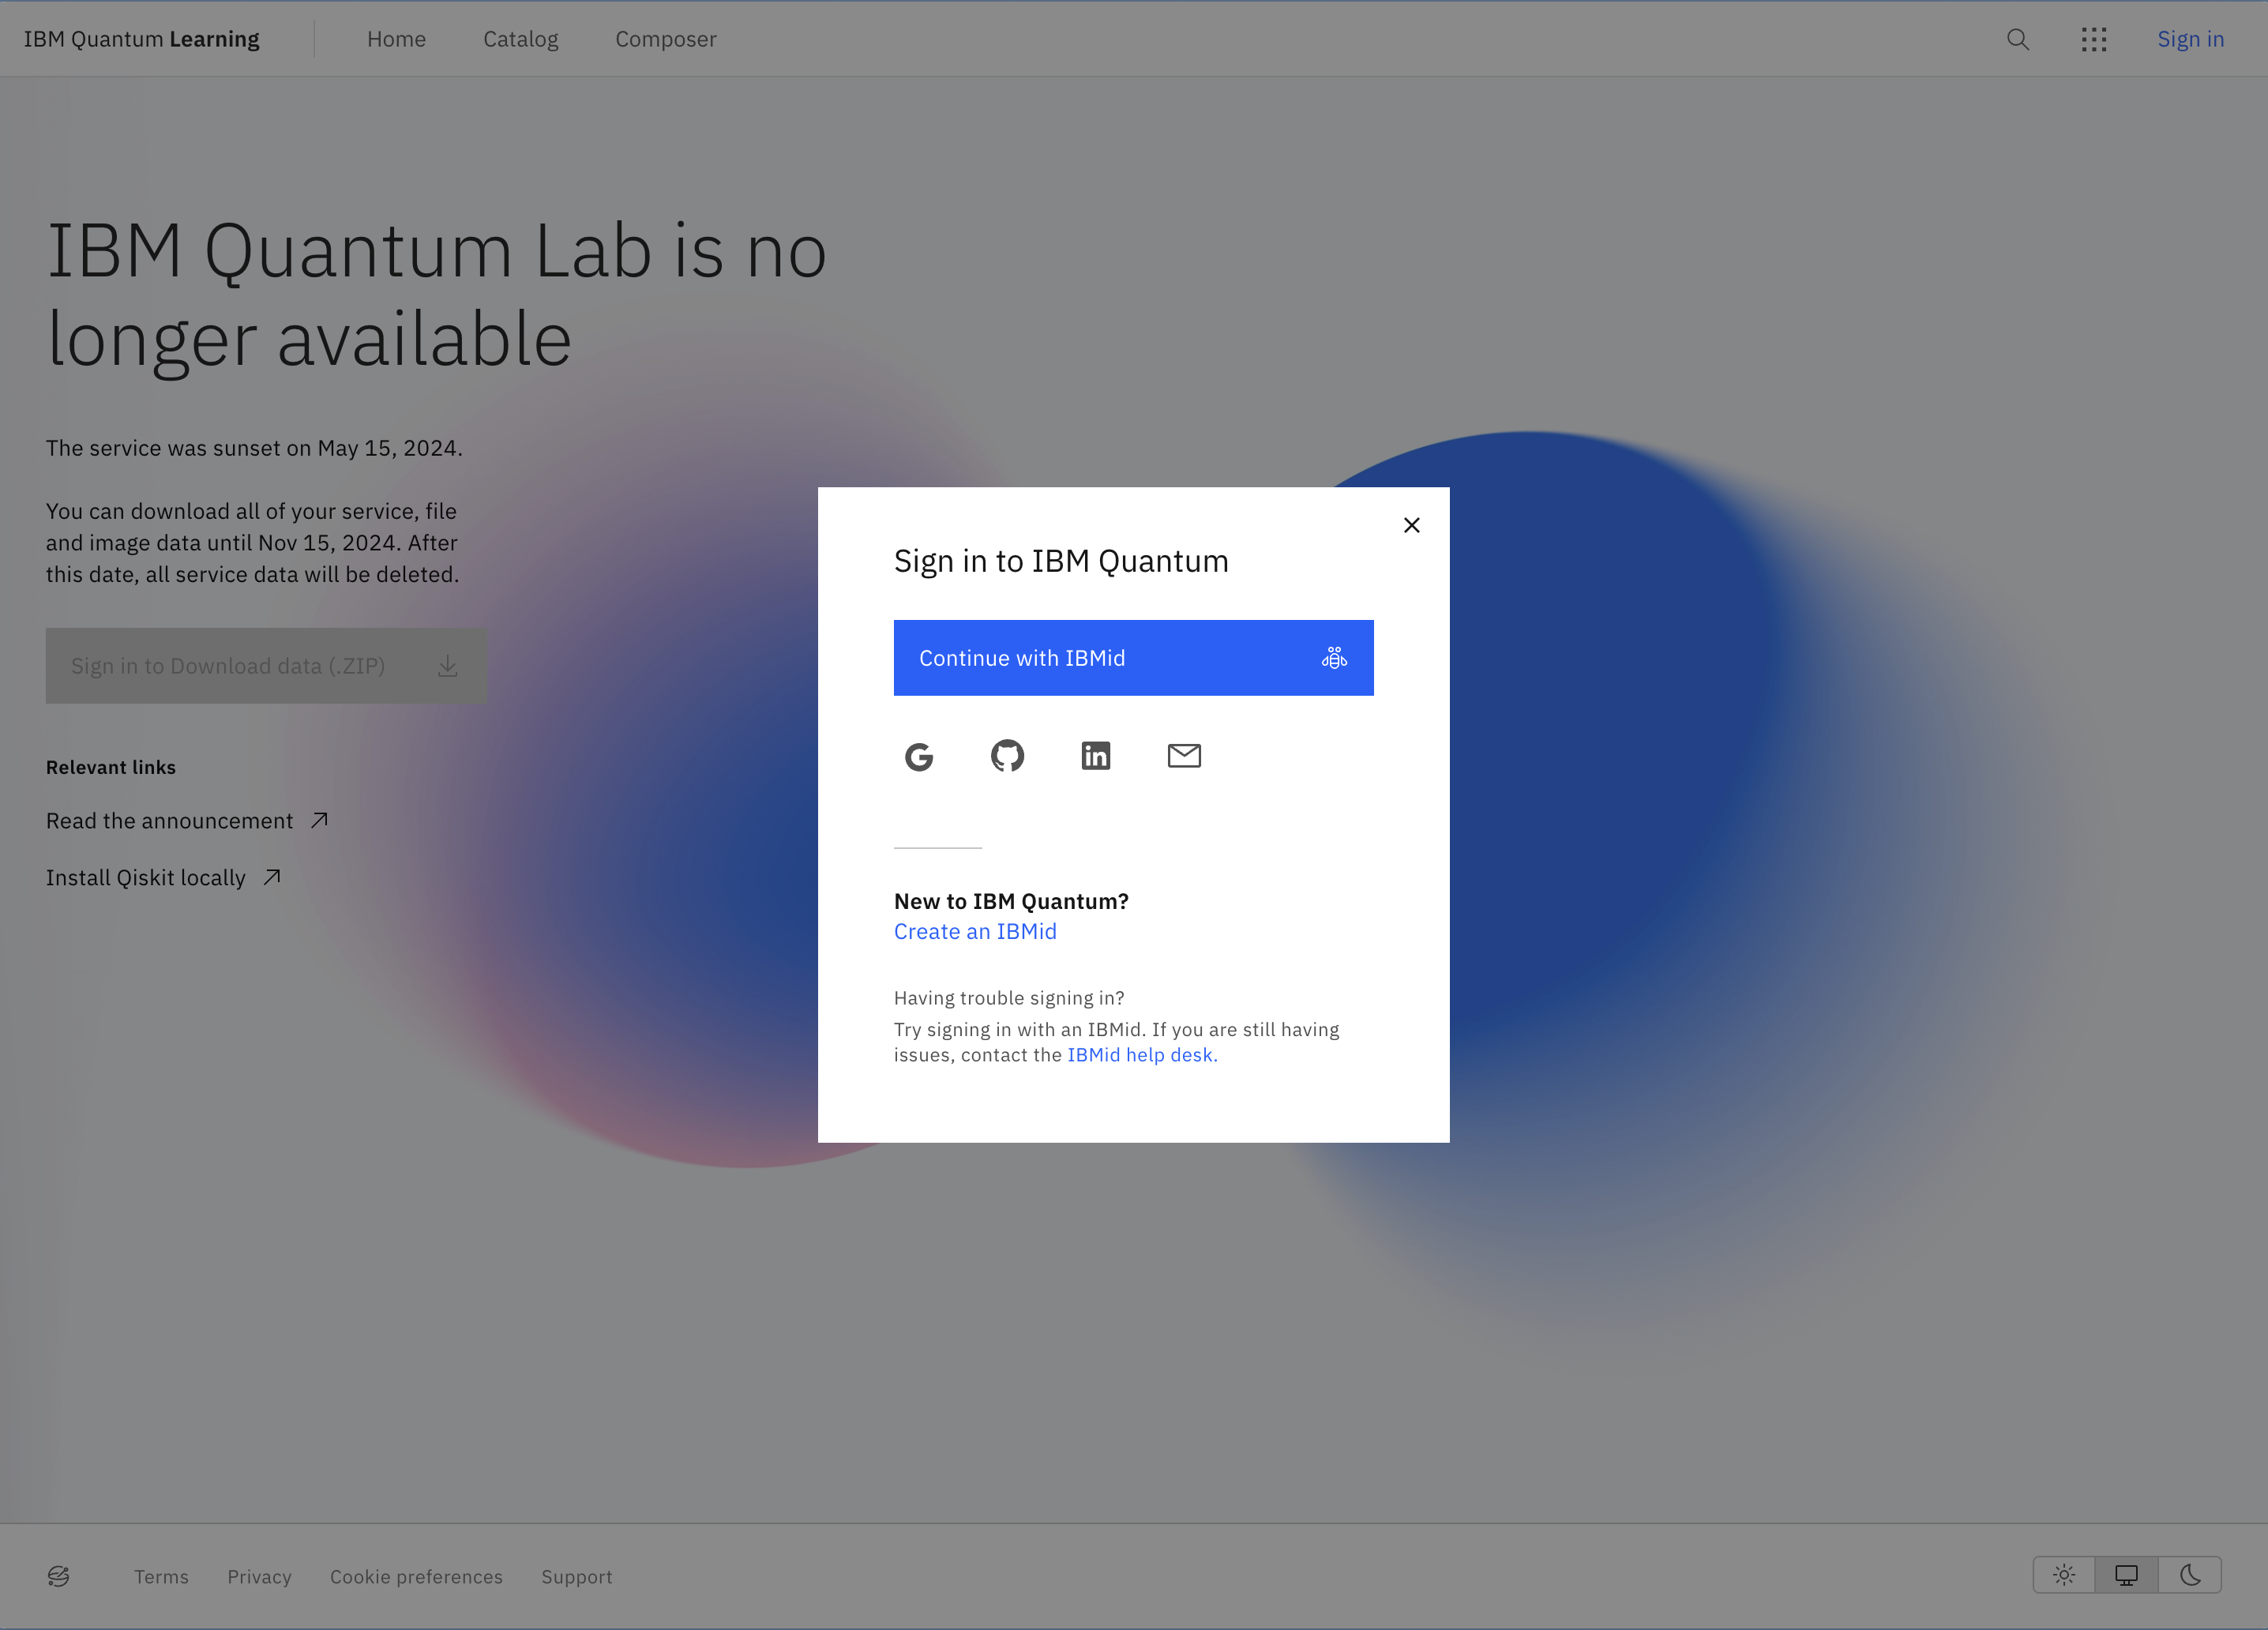
1b. Download your relevant files.
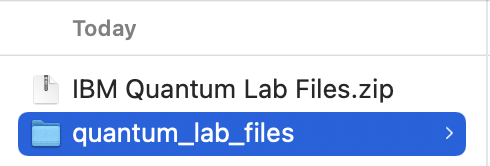
Click the blue button labeled “Download data (.zip)”. This will download a .zip file containing all of your projects and expand it in your Downloads folder.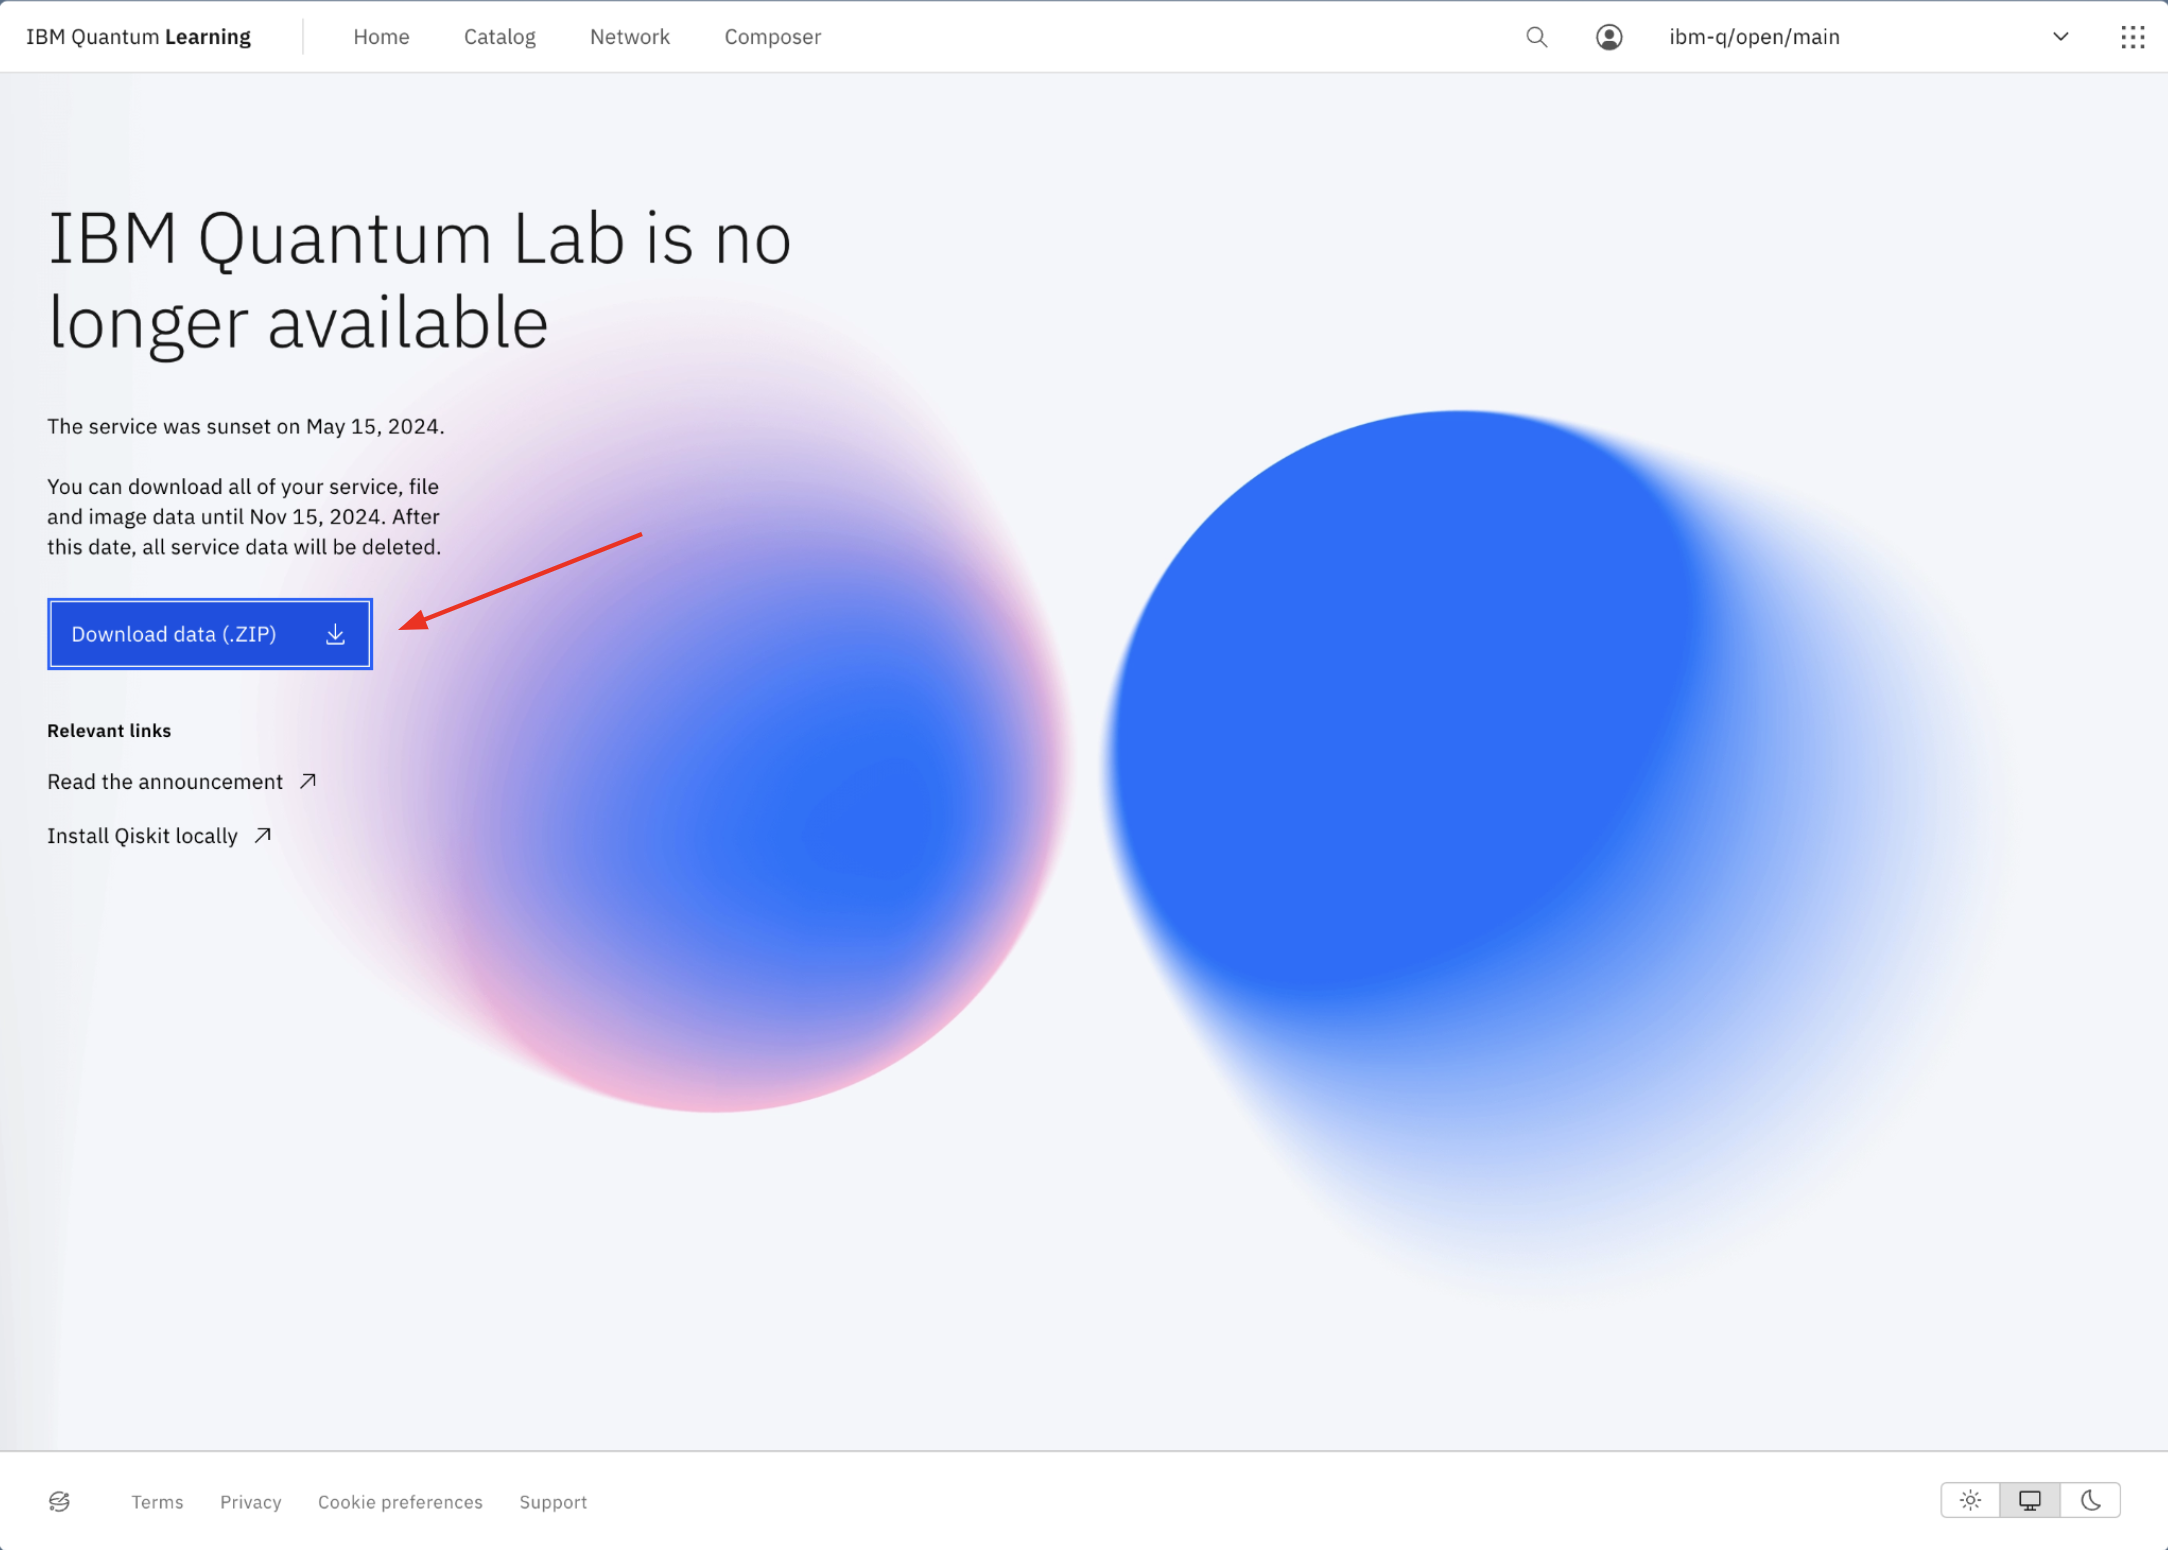
Step 2: Launch
After downloading your files, you can now migrate to qBraid Lab.2a. Visit qbraid.com to open qBraid Lab.
When you’re at the landing page, click the “Start Now” button in the top-right corner in order to gain access to the qBraid Lab.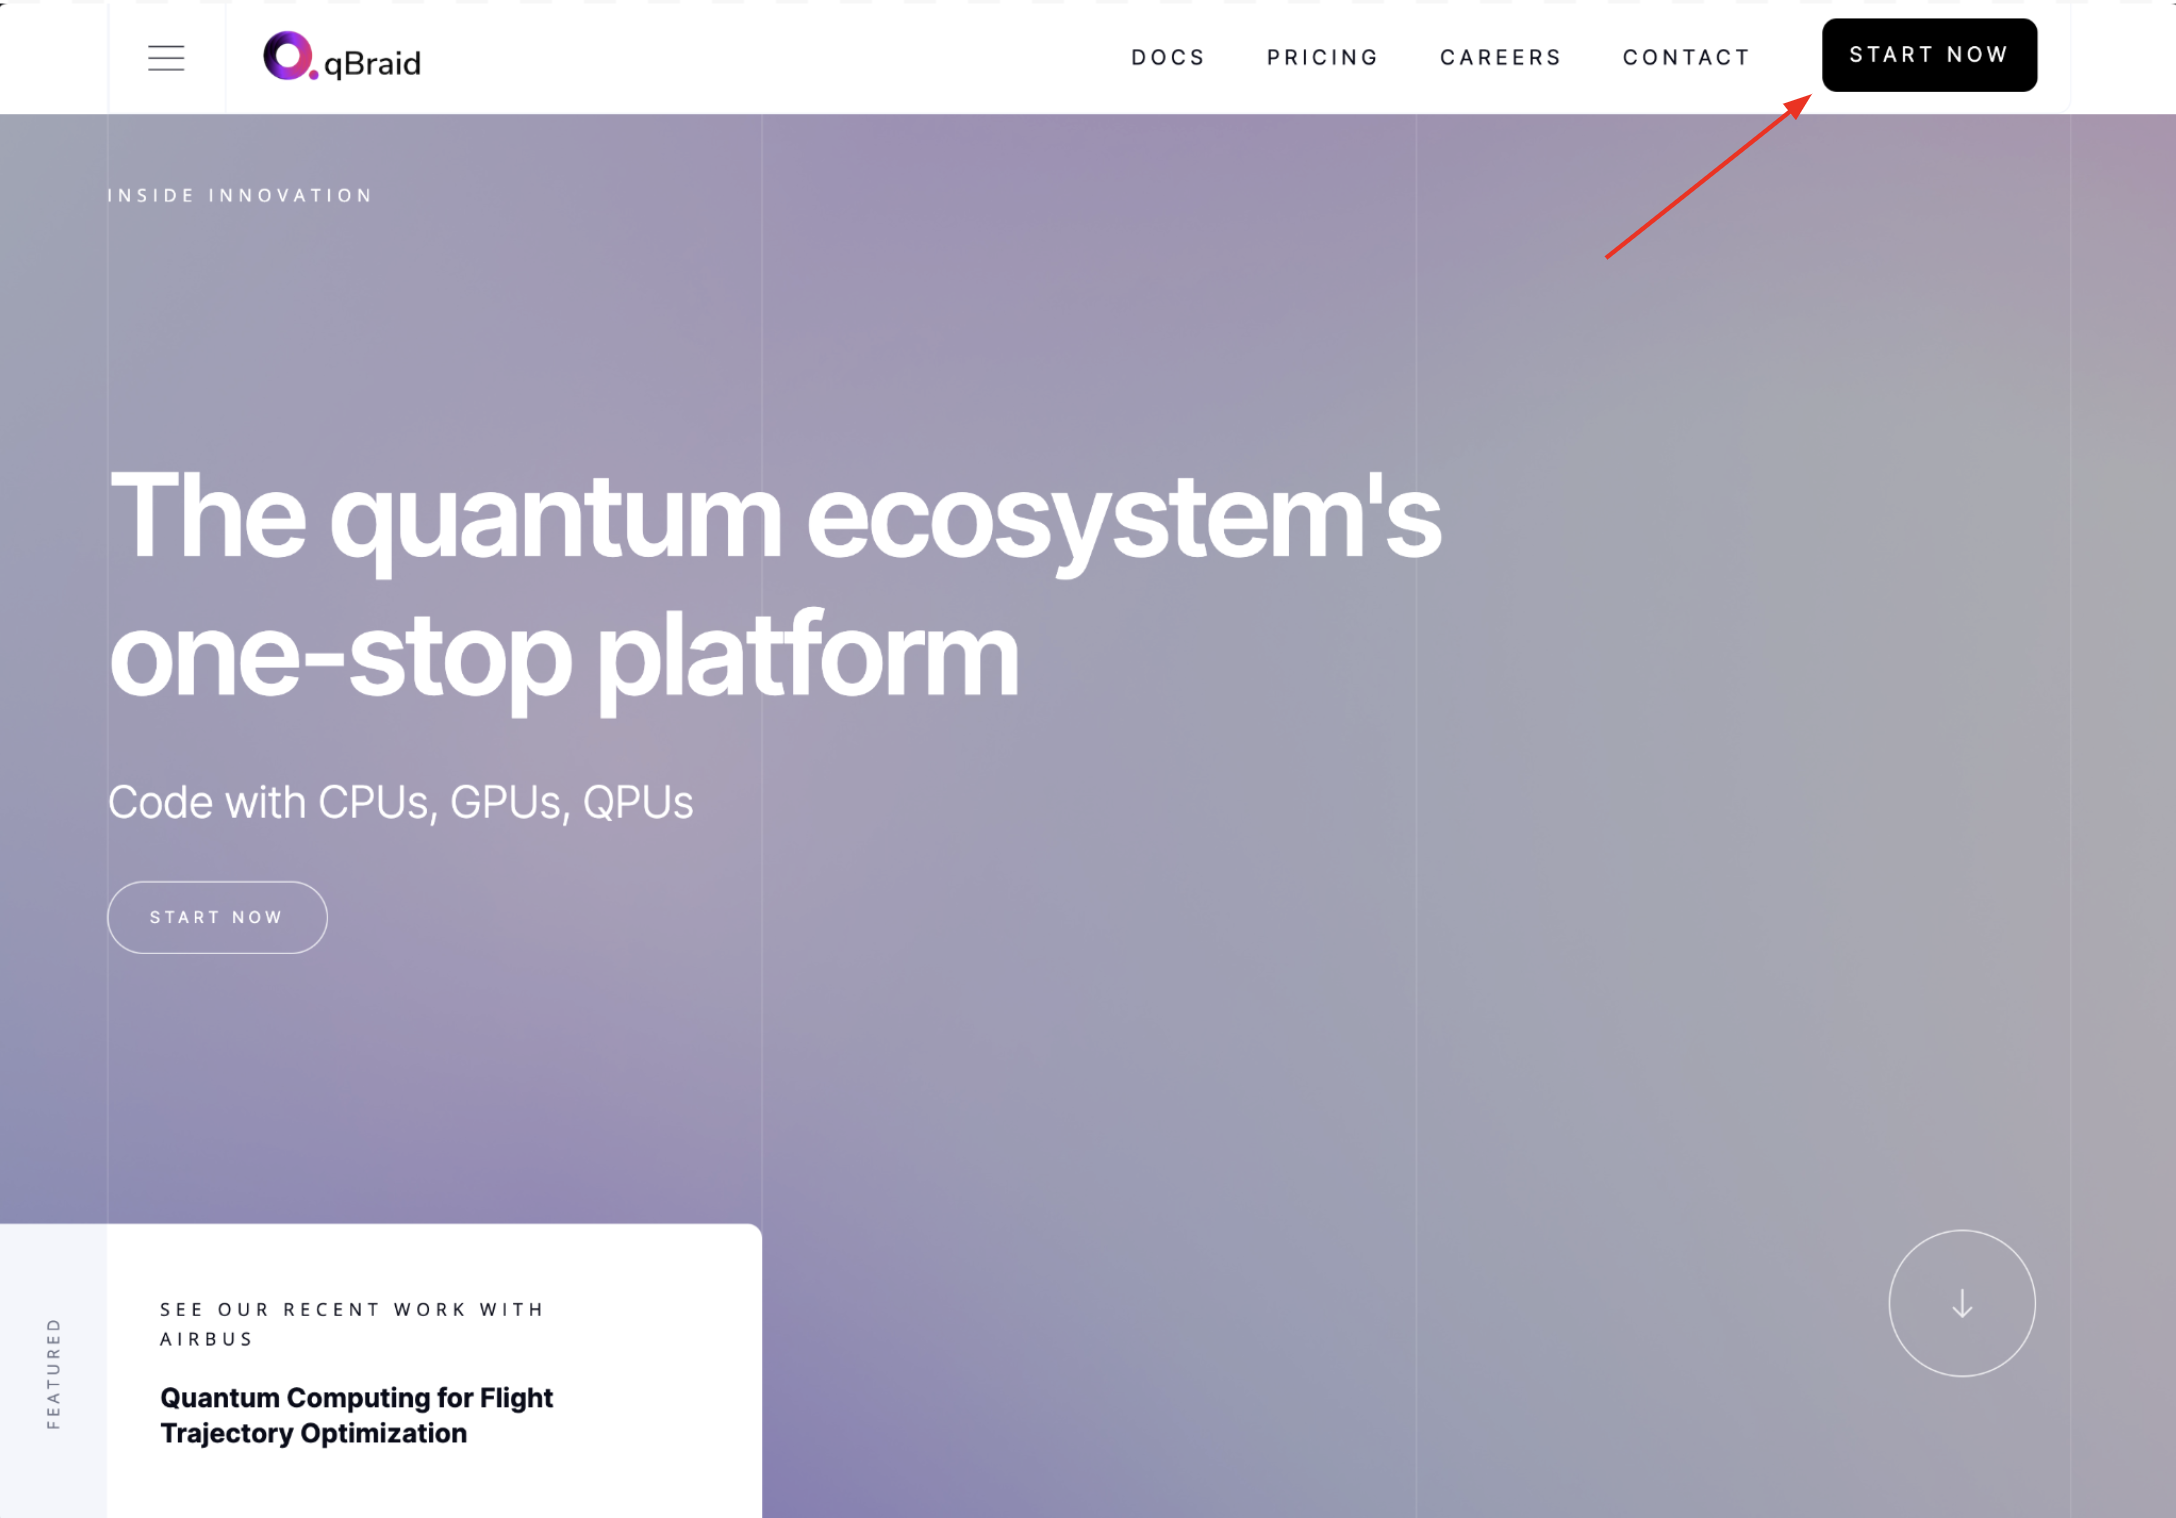
2b. Create your free qBraid account.
You can create your account by entering your email address and password, or you can sign up with Google. Creating a qBraid account is always free!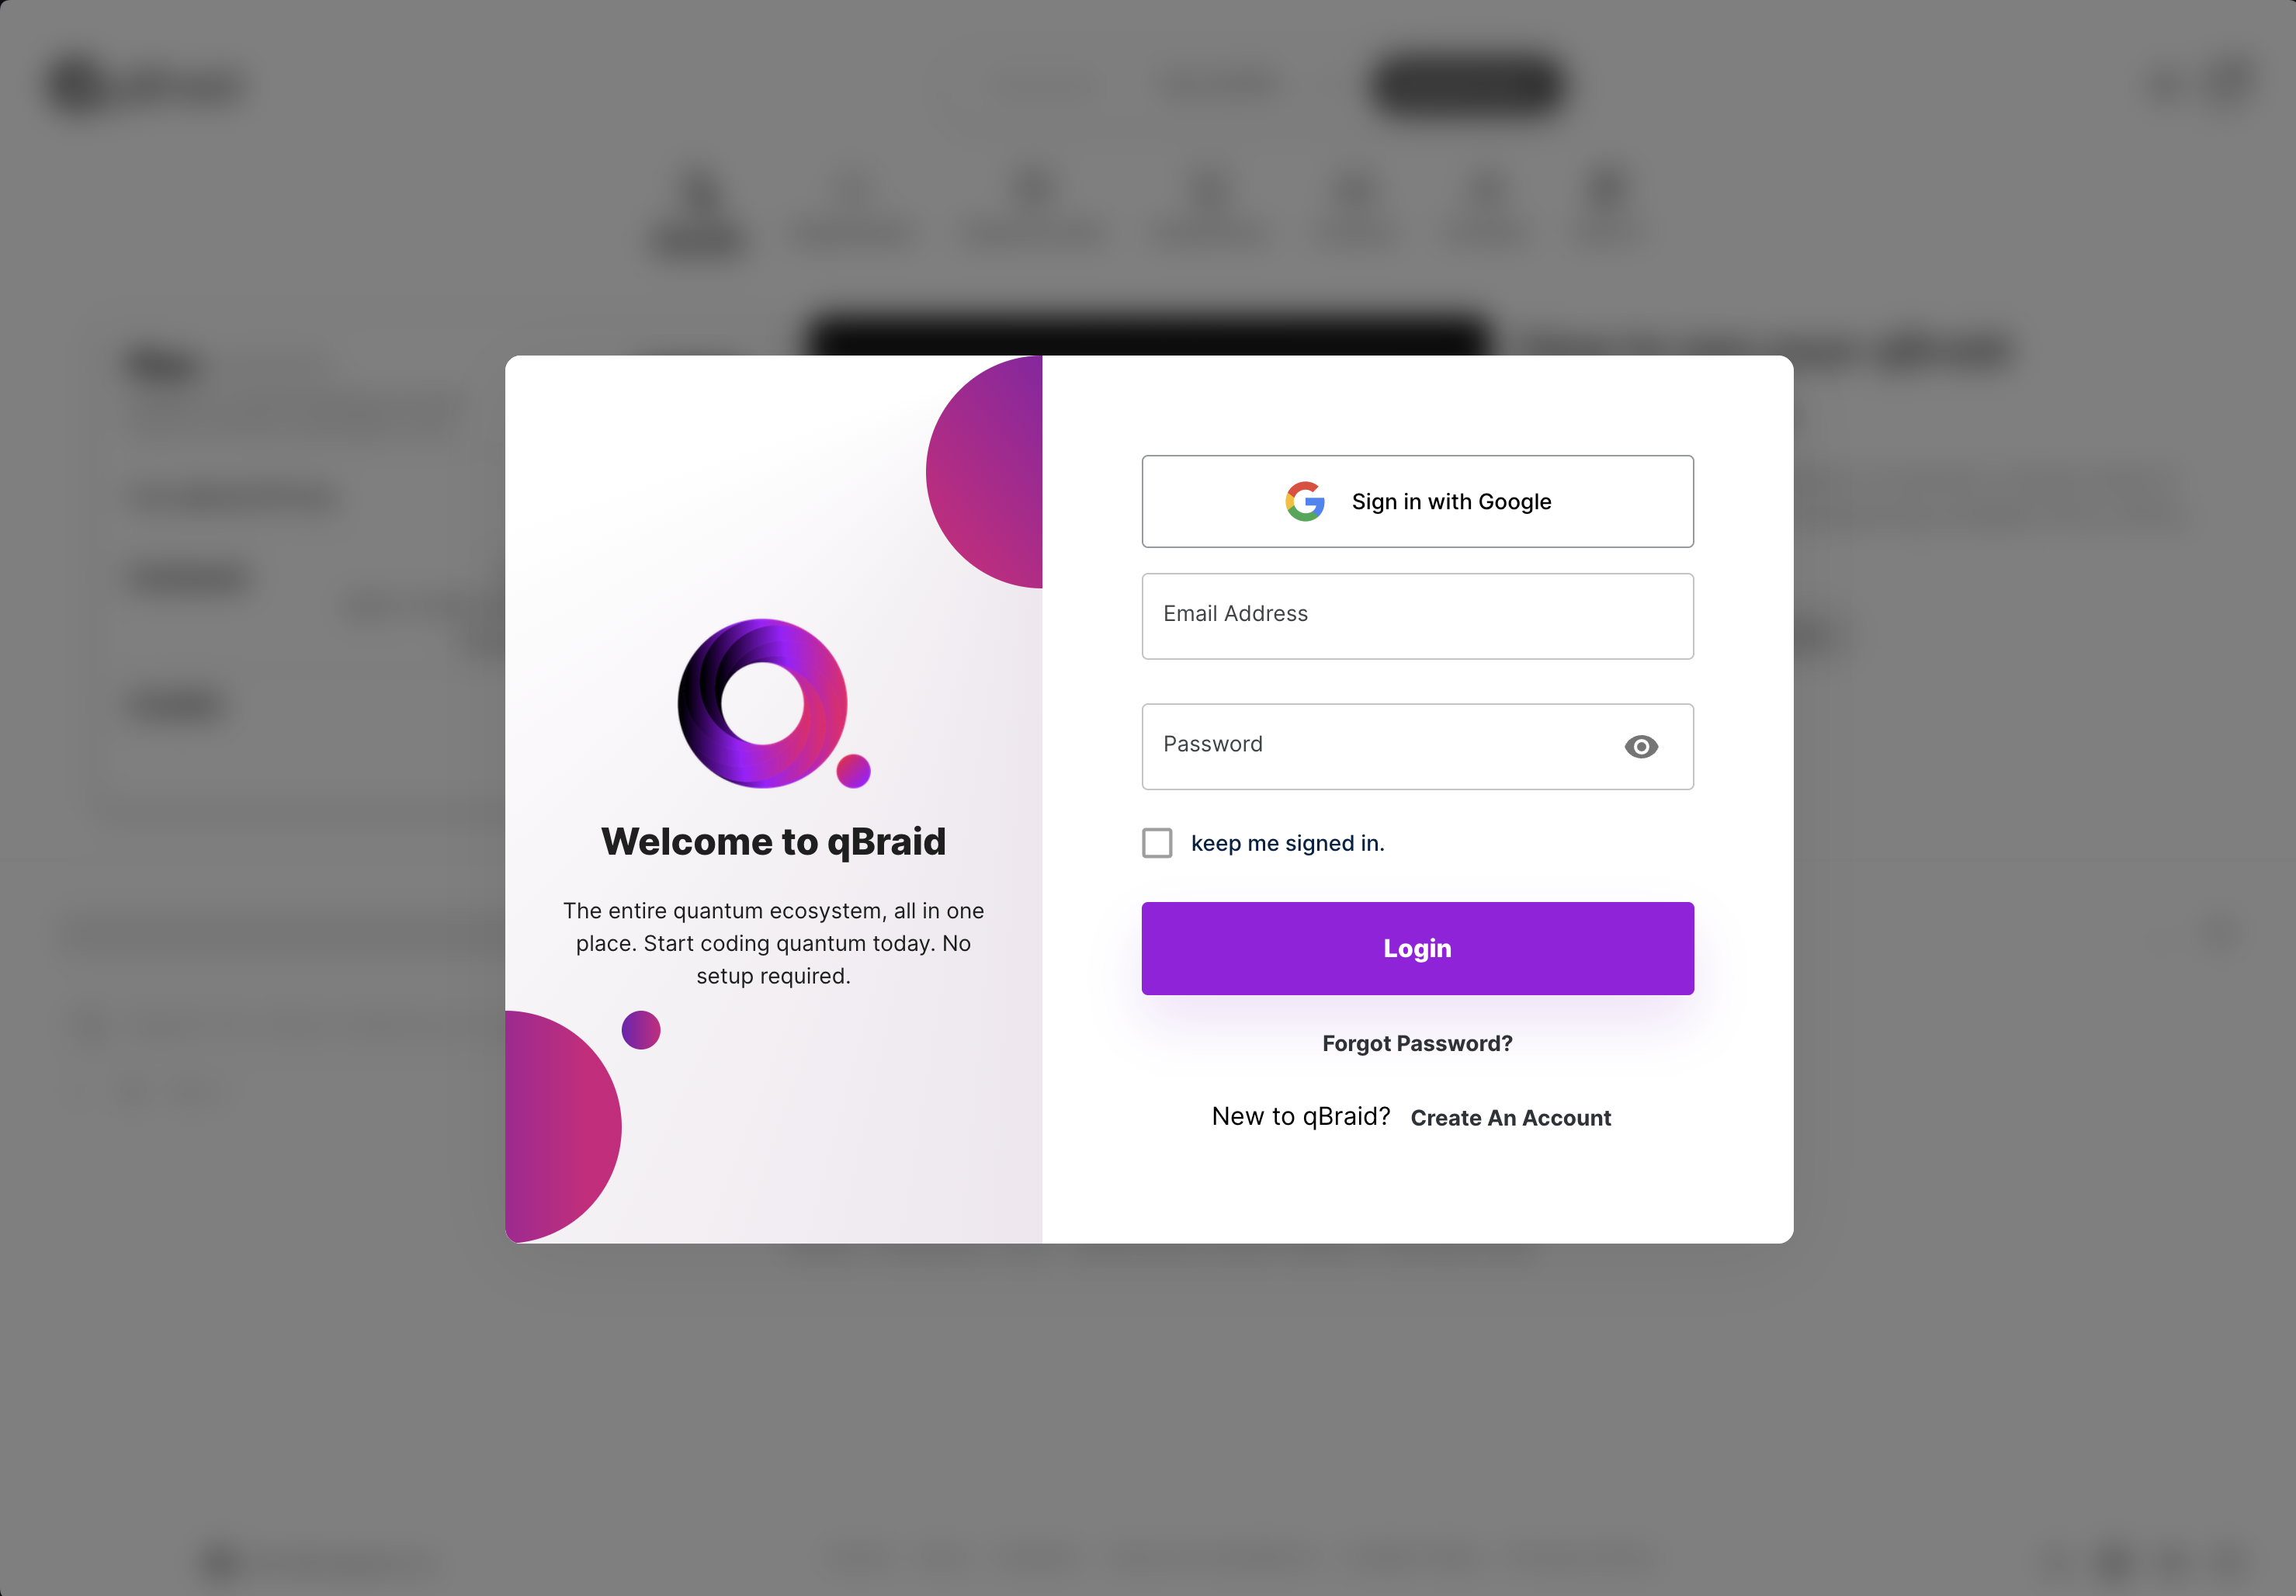
2c. Initialize qBraid Lab from the landing page.
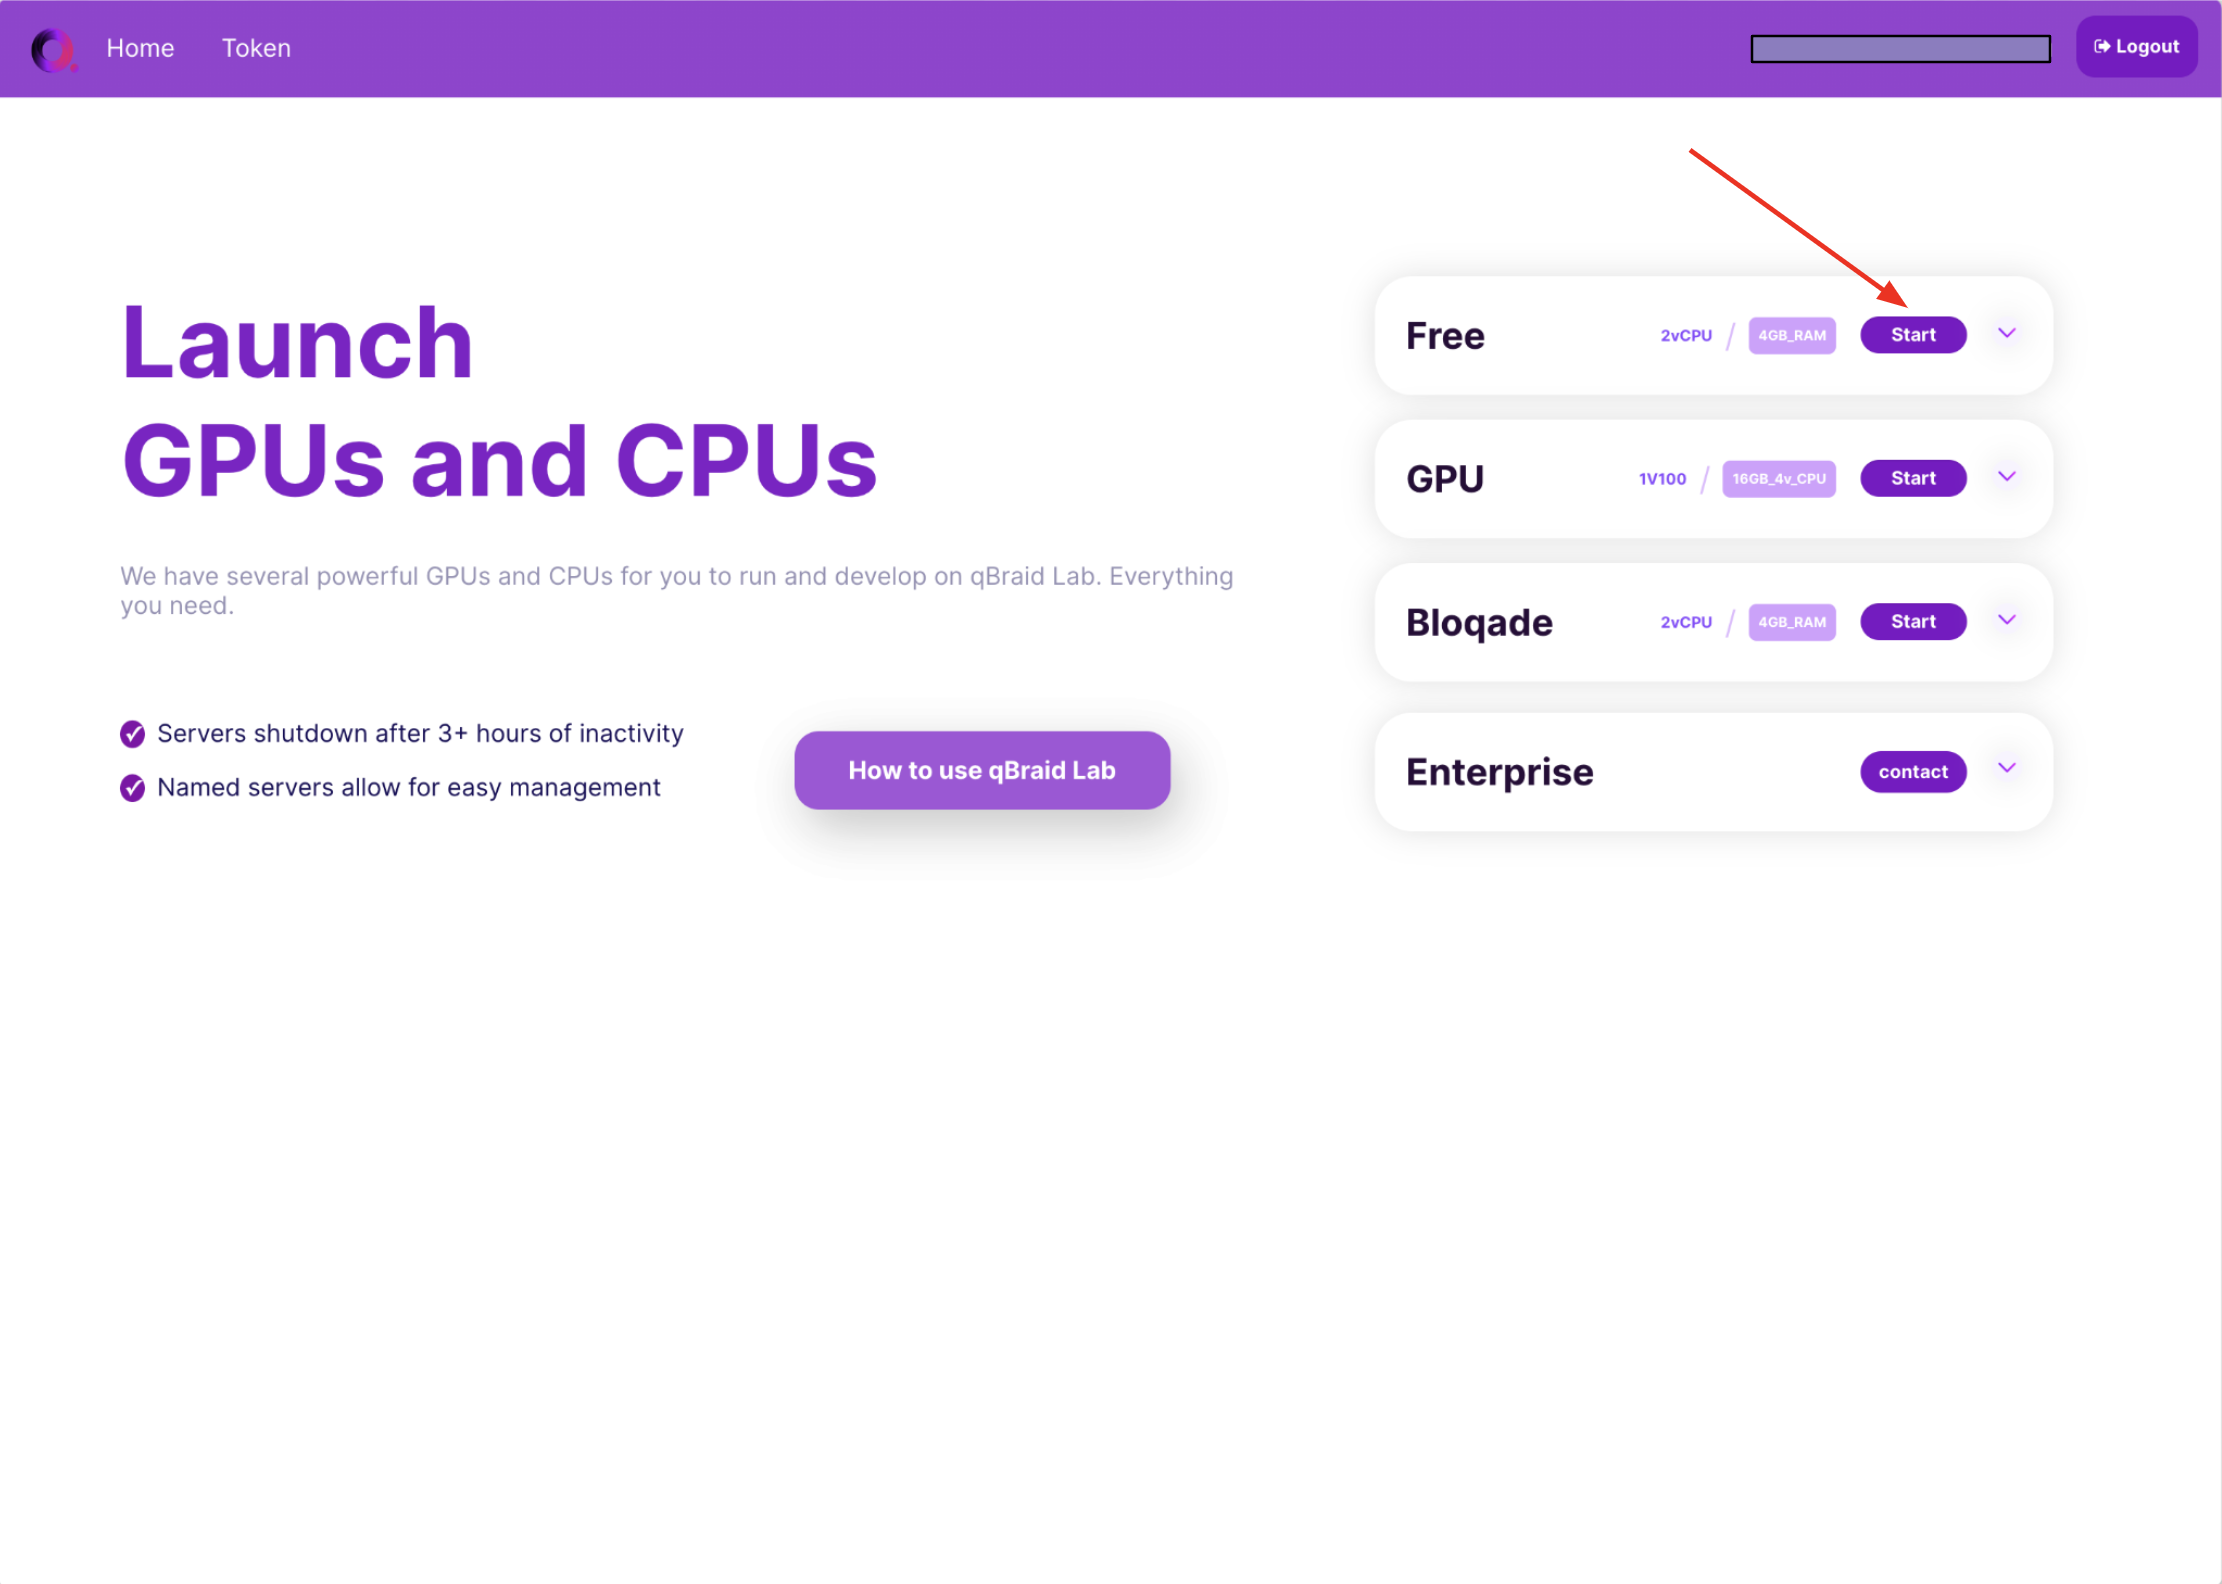
When you have logged in, you will see your account page. Click the purple “Launch Lab” button in order to open the qBraid Lab interface. This will open the qBraid Lab page, from where you can select the first “Free” version to get started.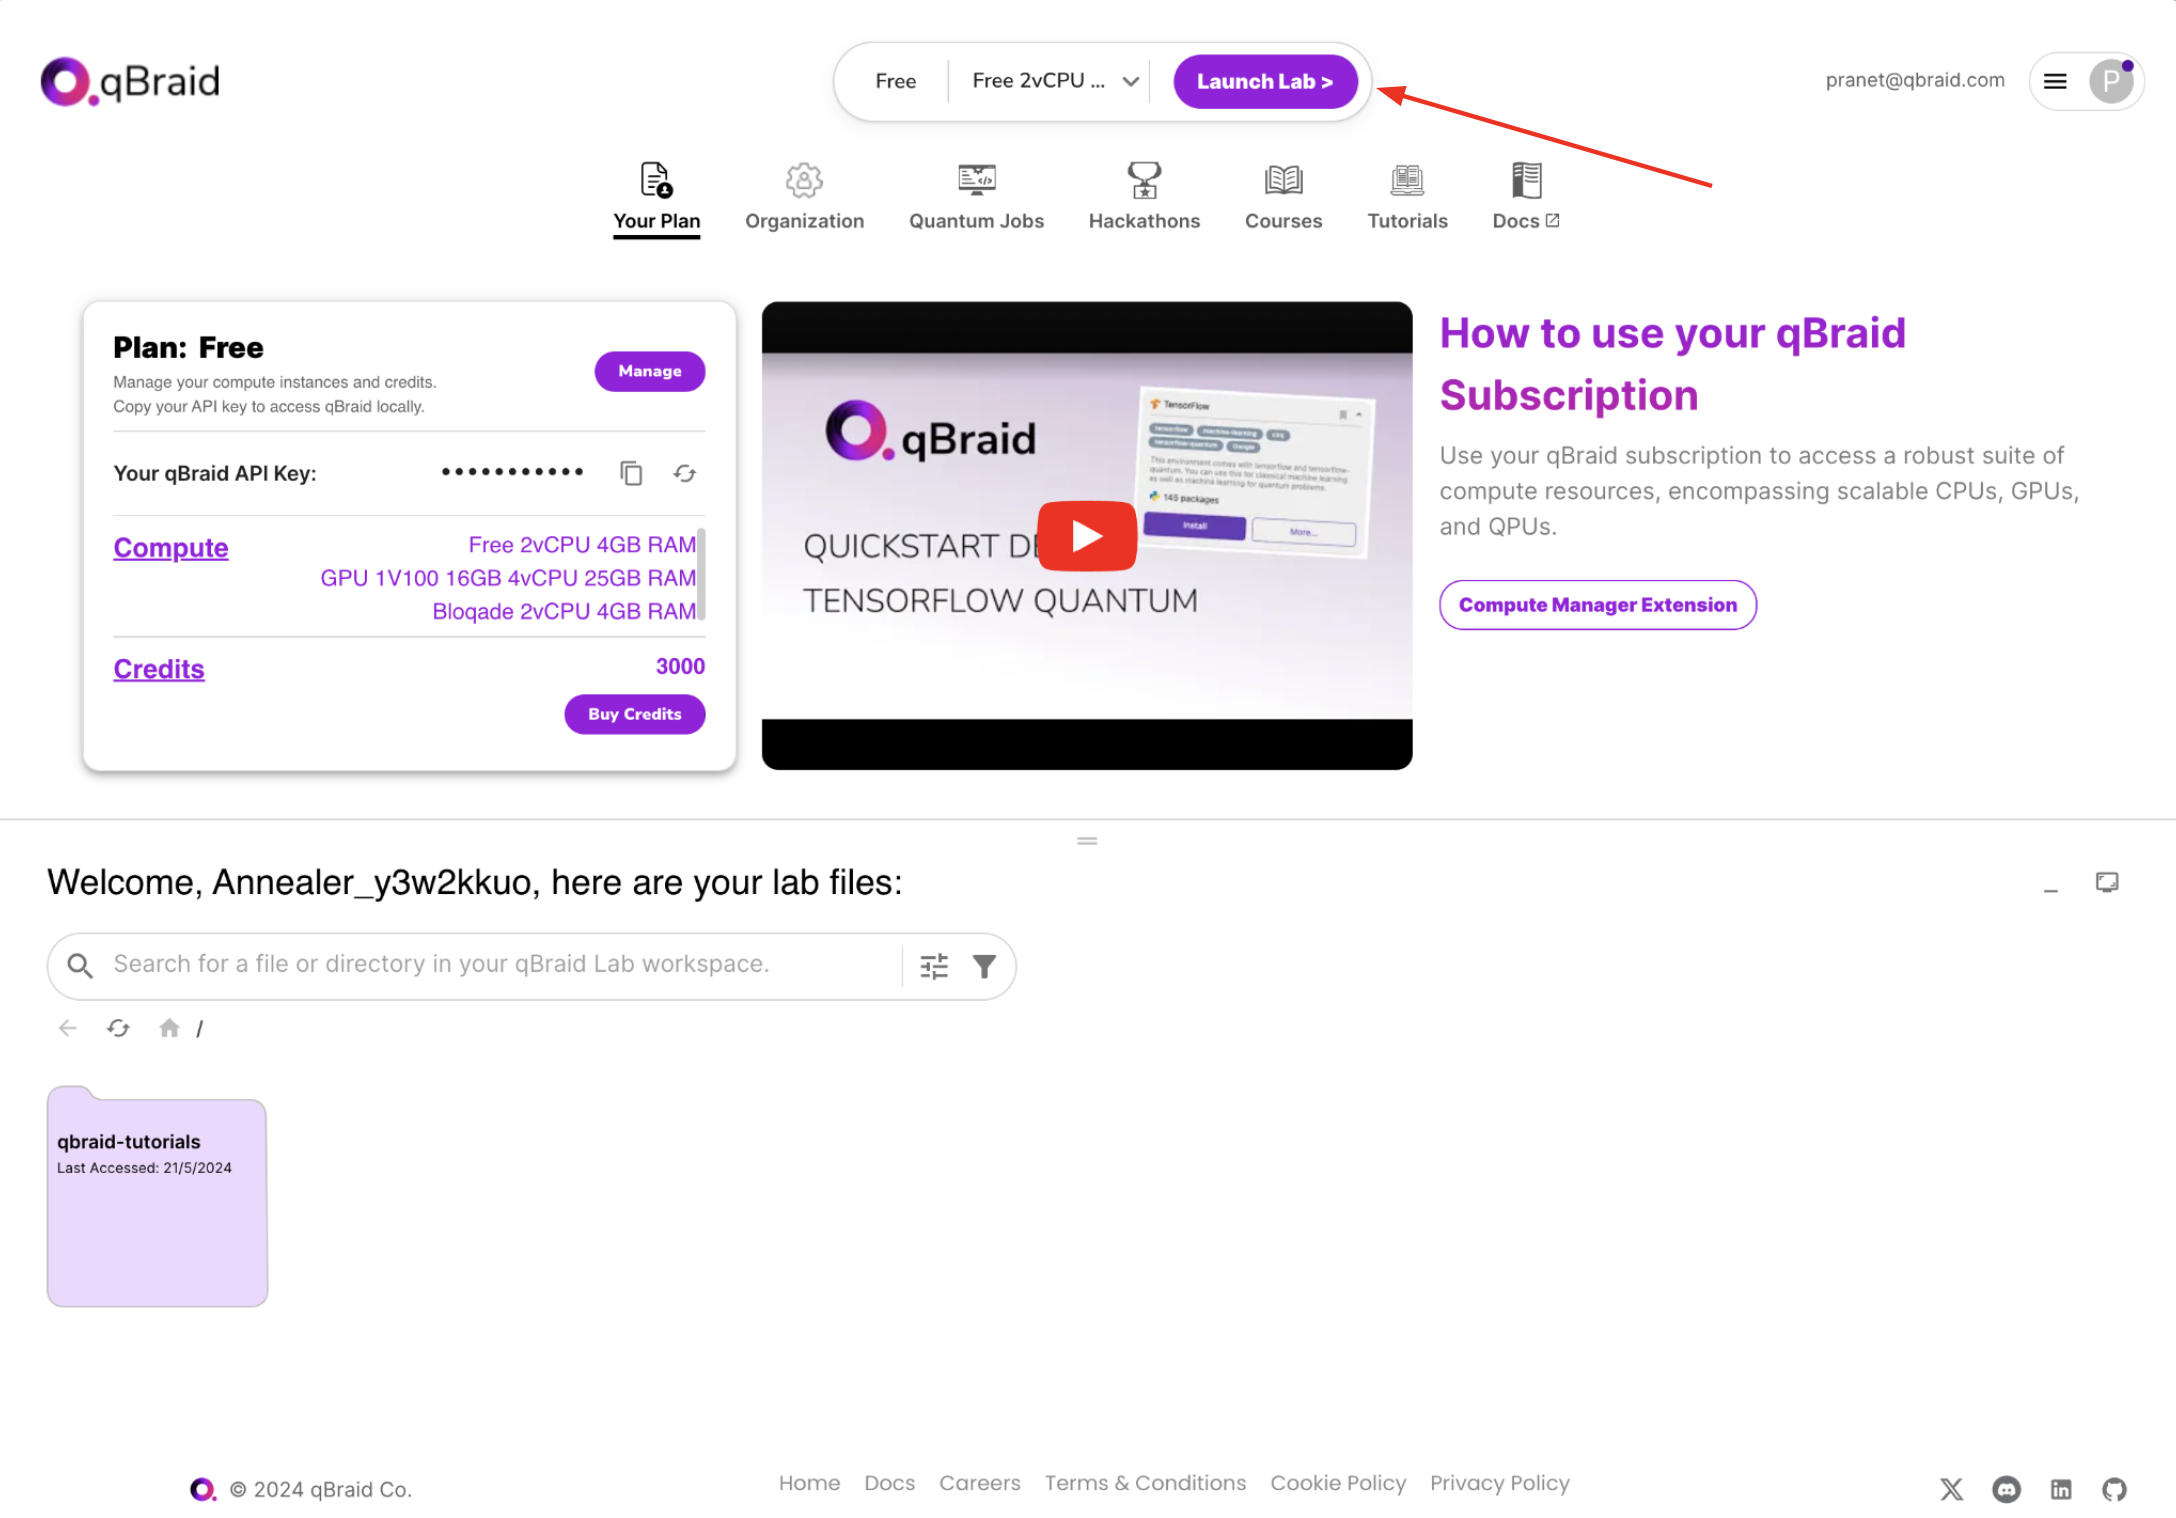
Step 3: Upload
When your account is made, you can upload your files to qBraid Lab.3a. Click on the “Files” icon.
The qBraid Lab server may take up to 5 minutes to initialize the first time. When you are in, you should see a page that looks like this: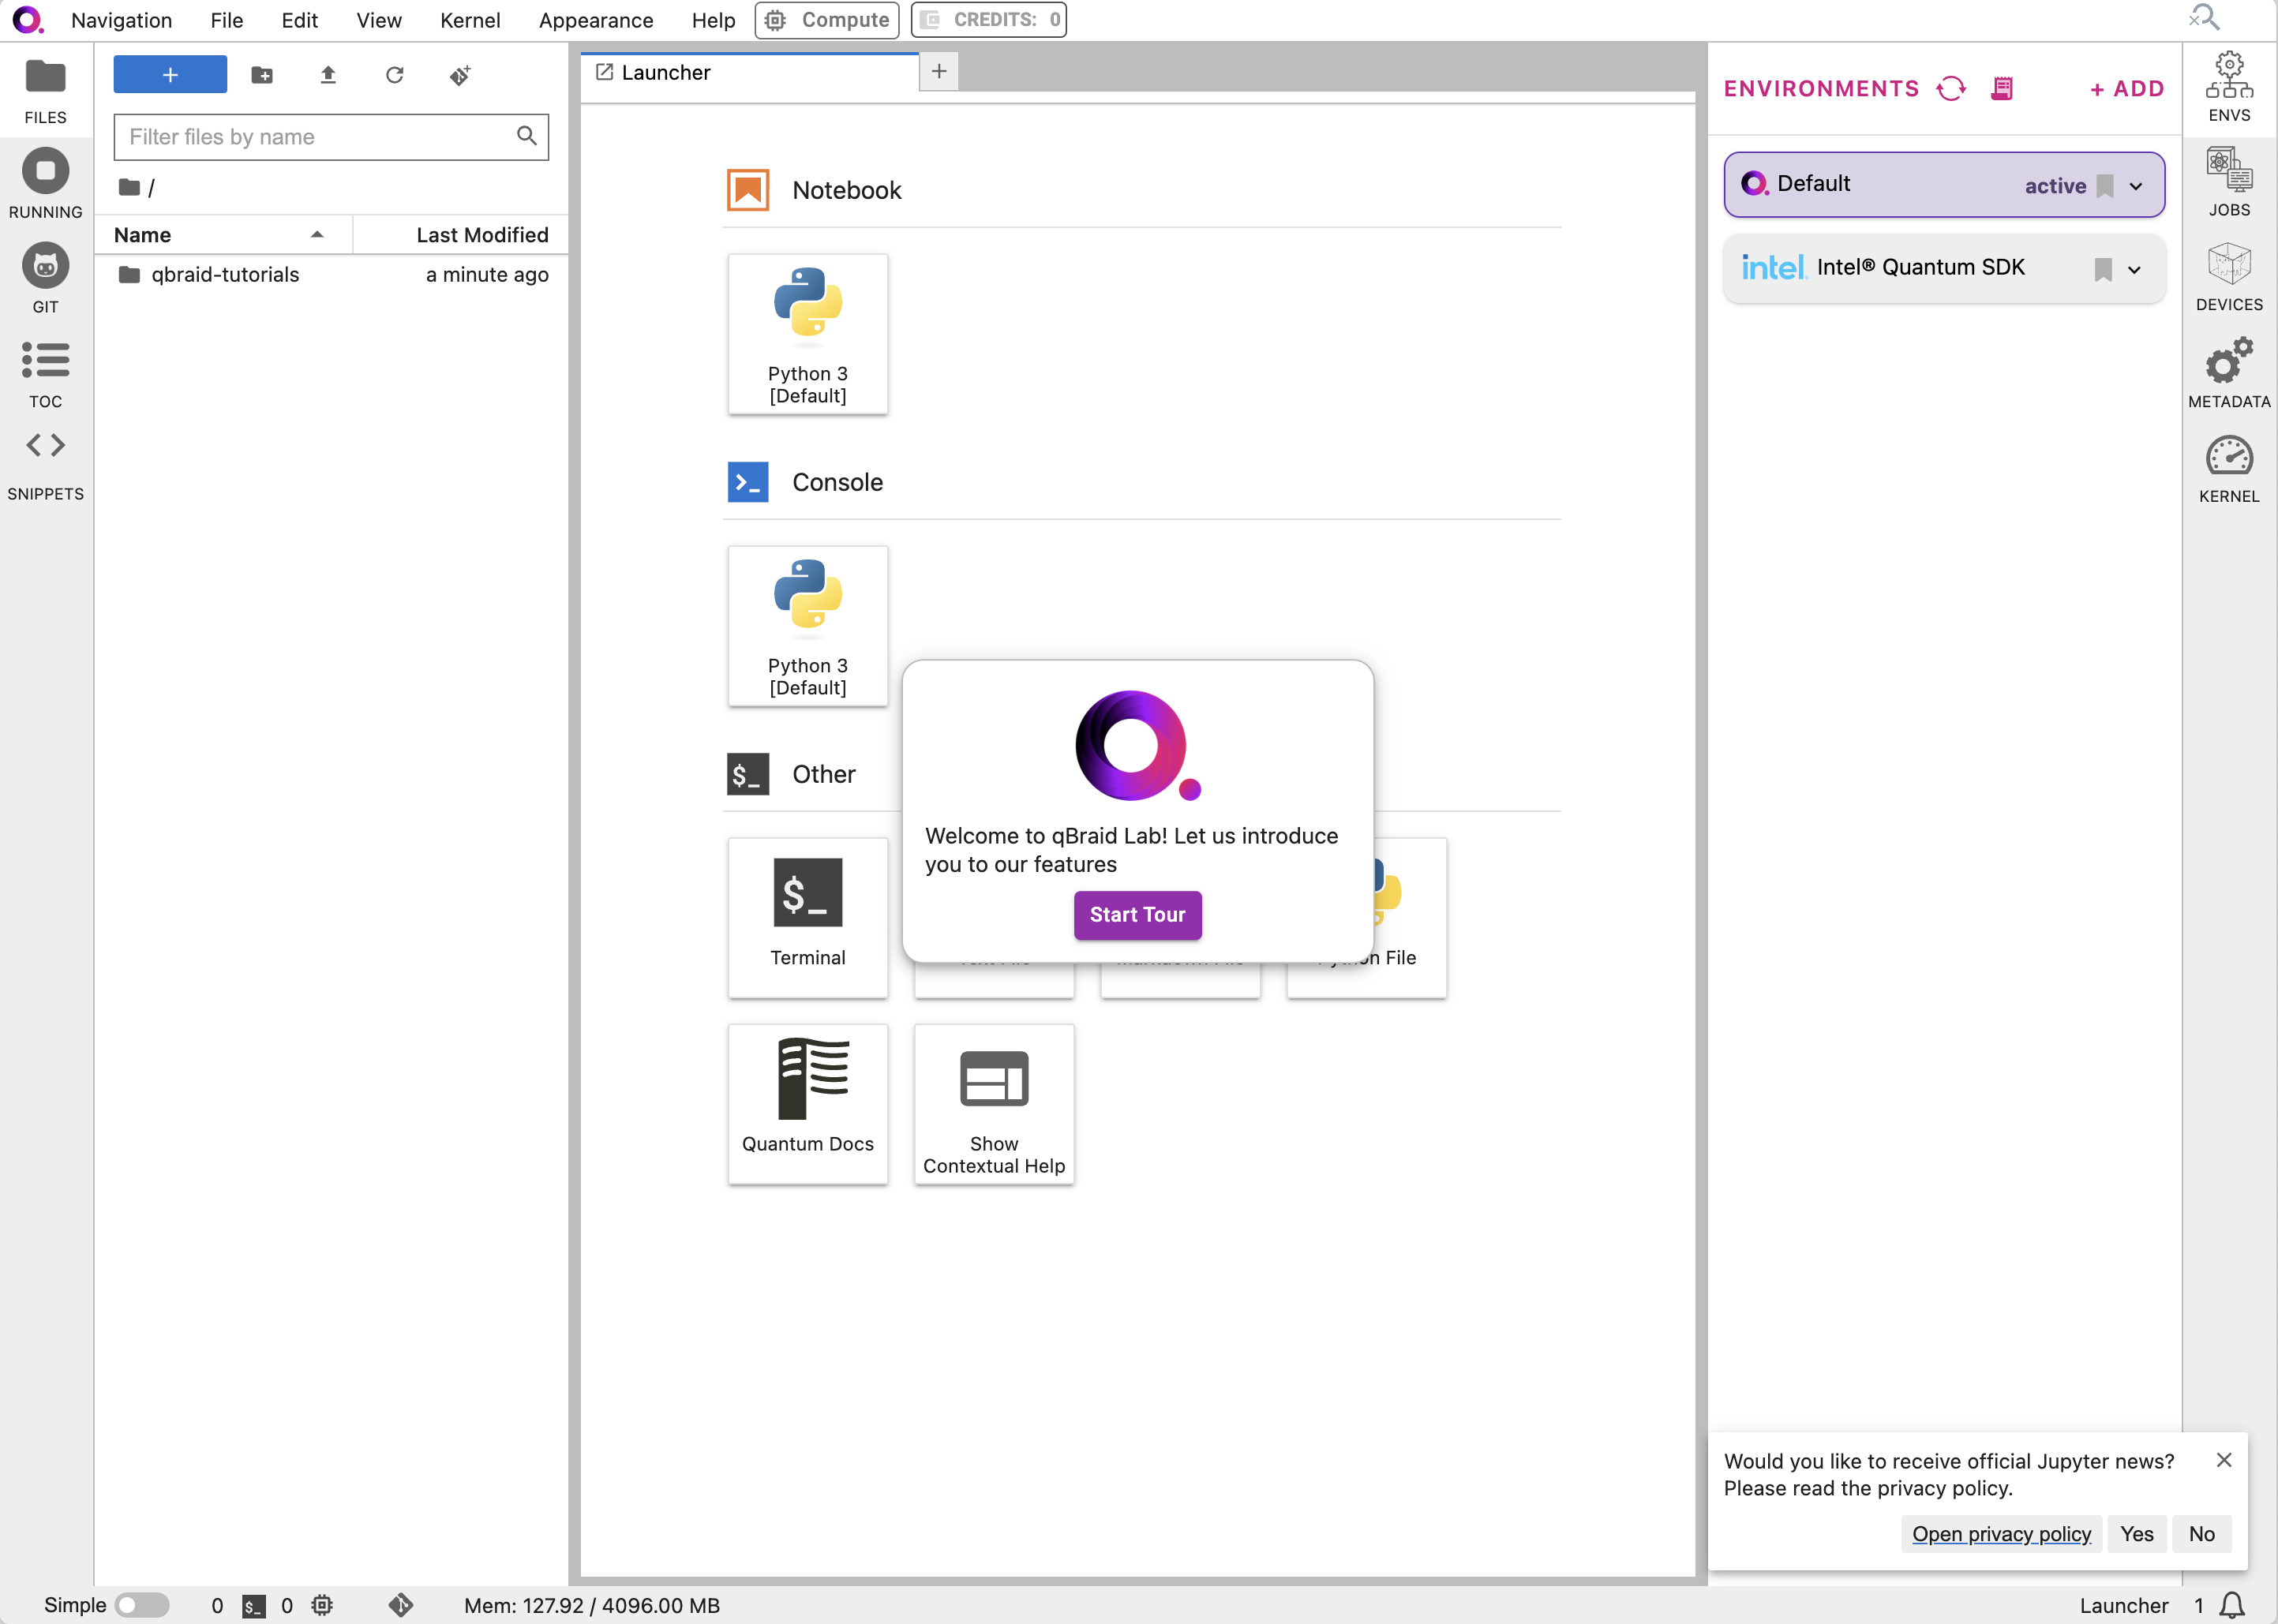
3b. Upload the files onto qBraid Lab.
To upload files, click the “Upload” icon in the file manager.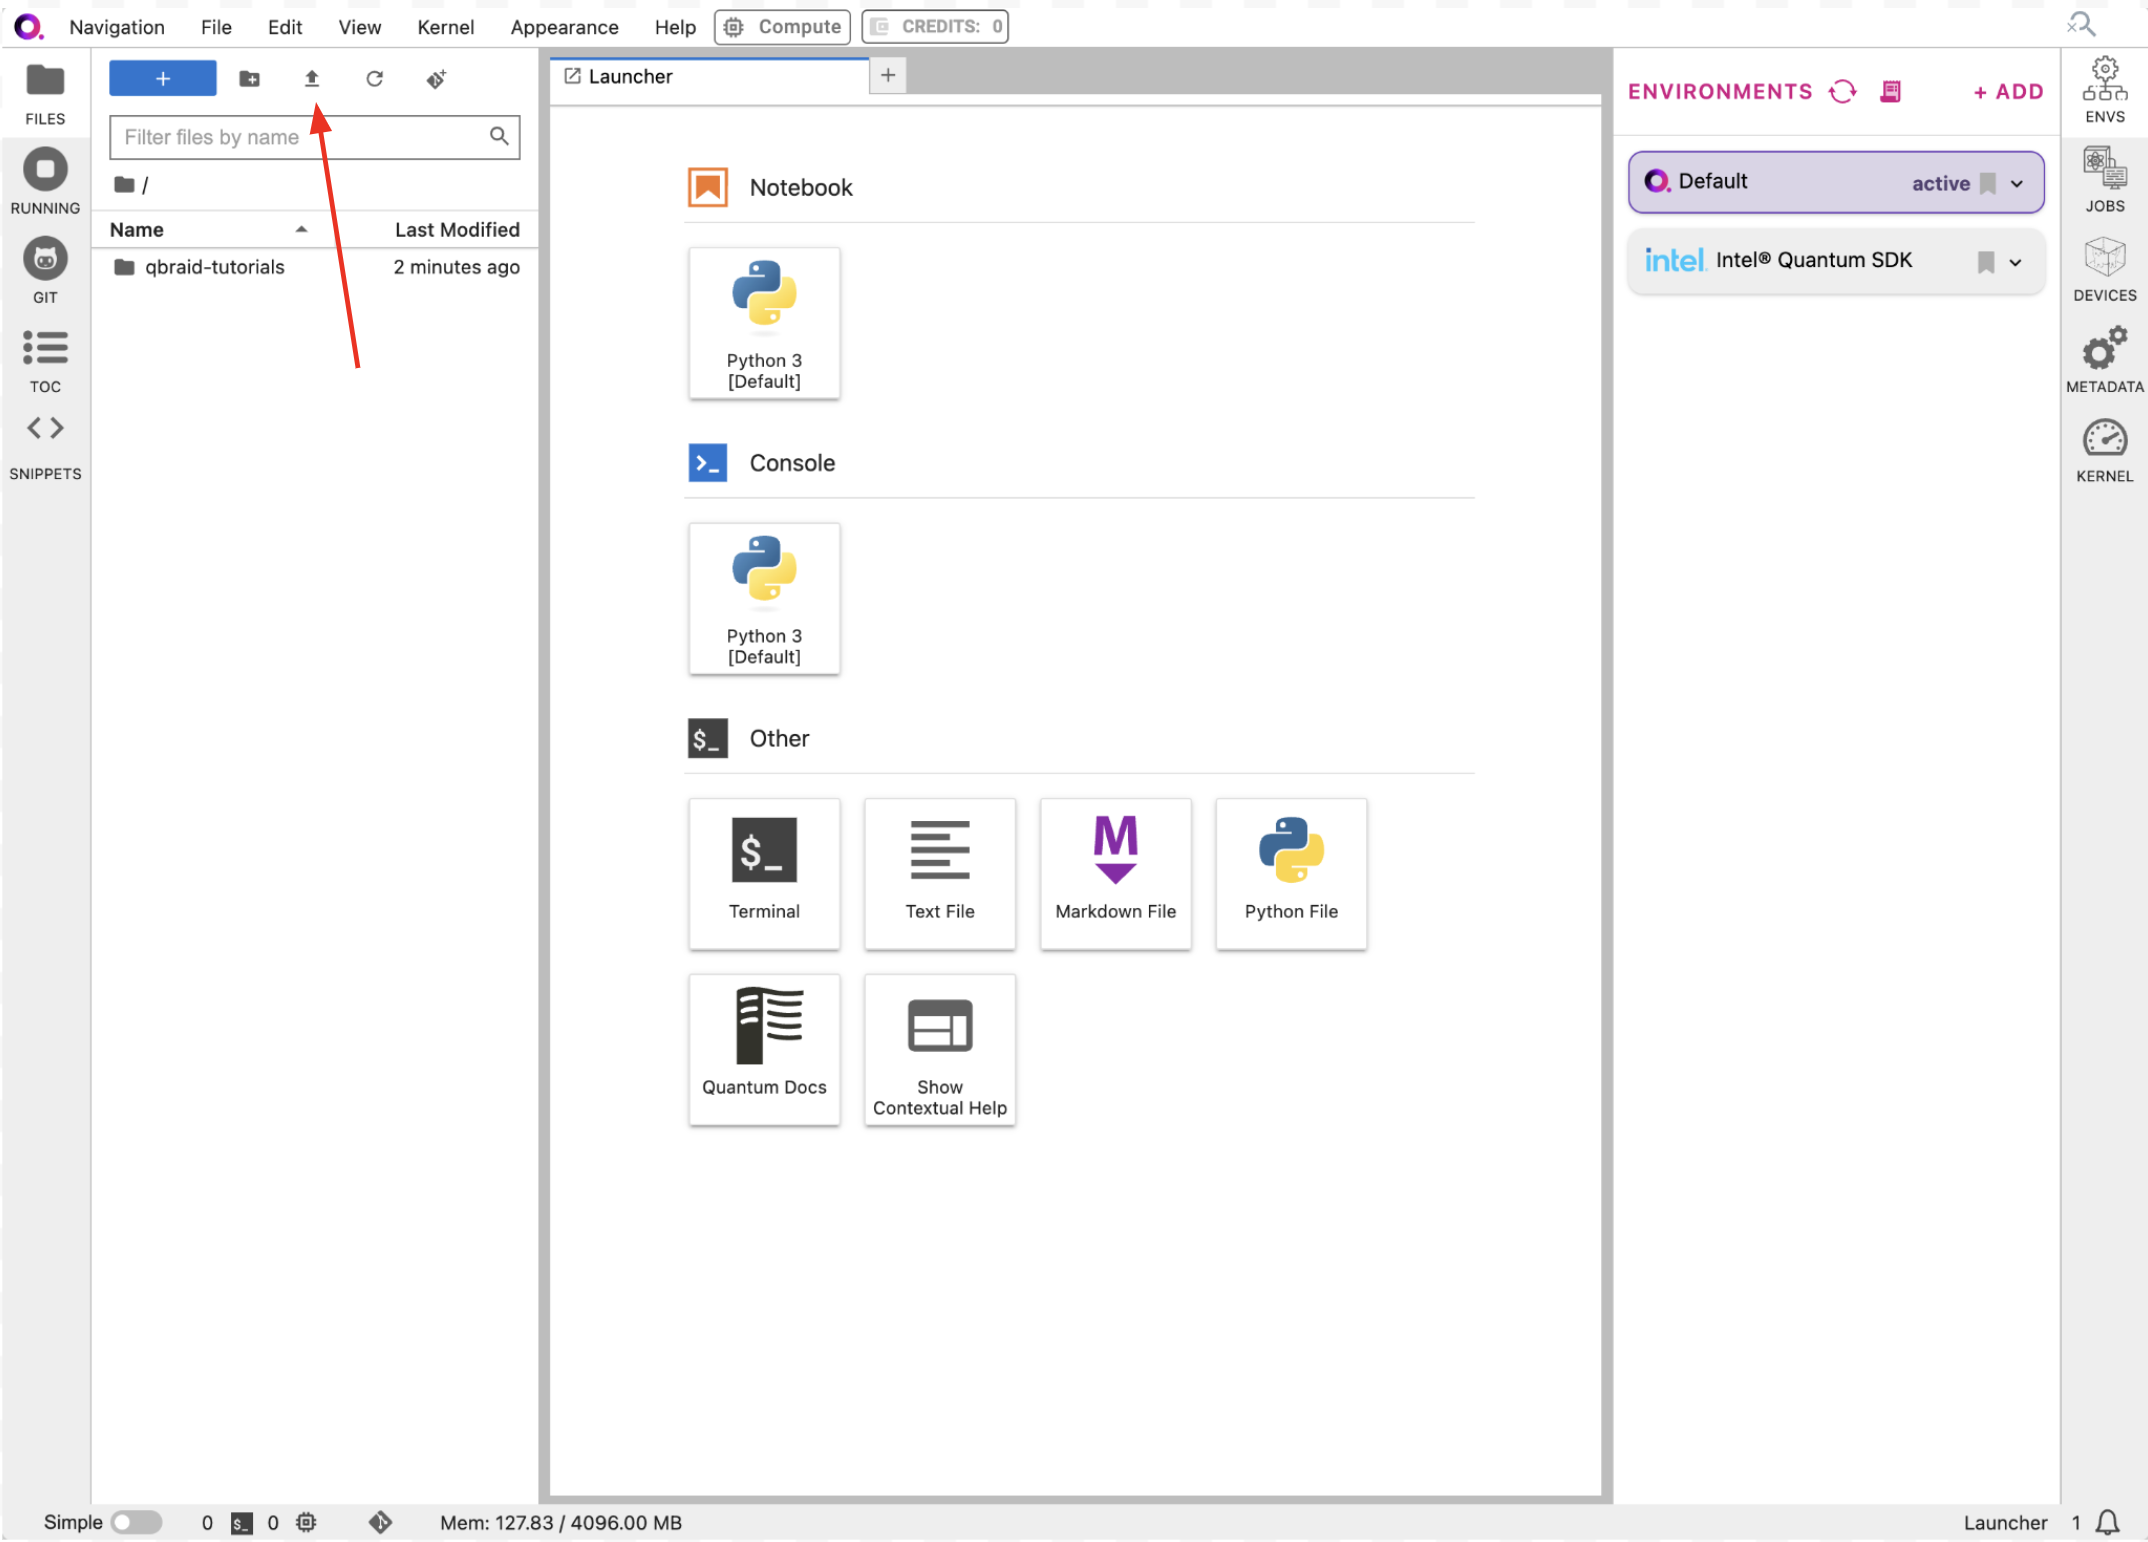
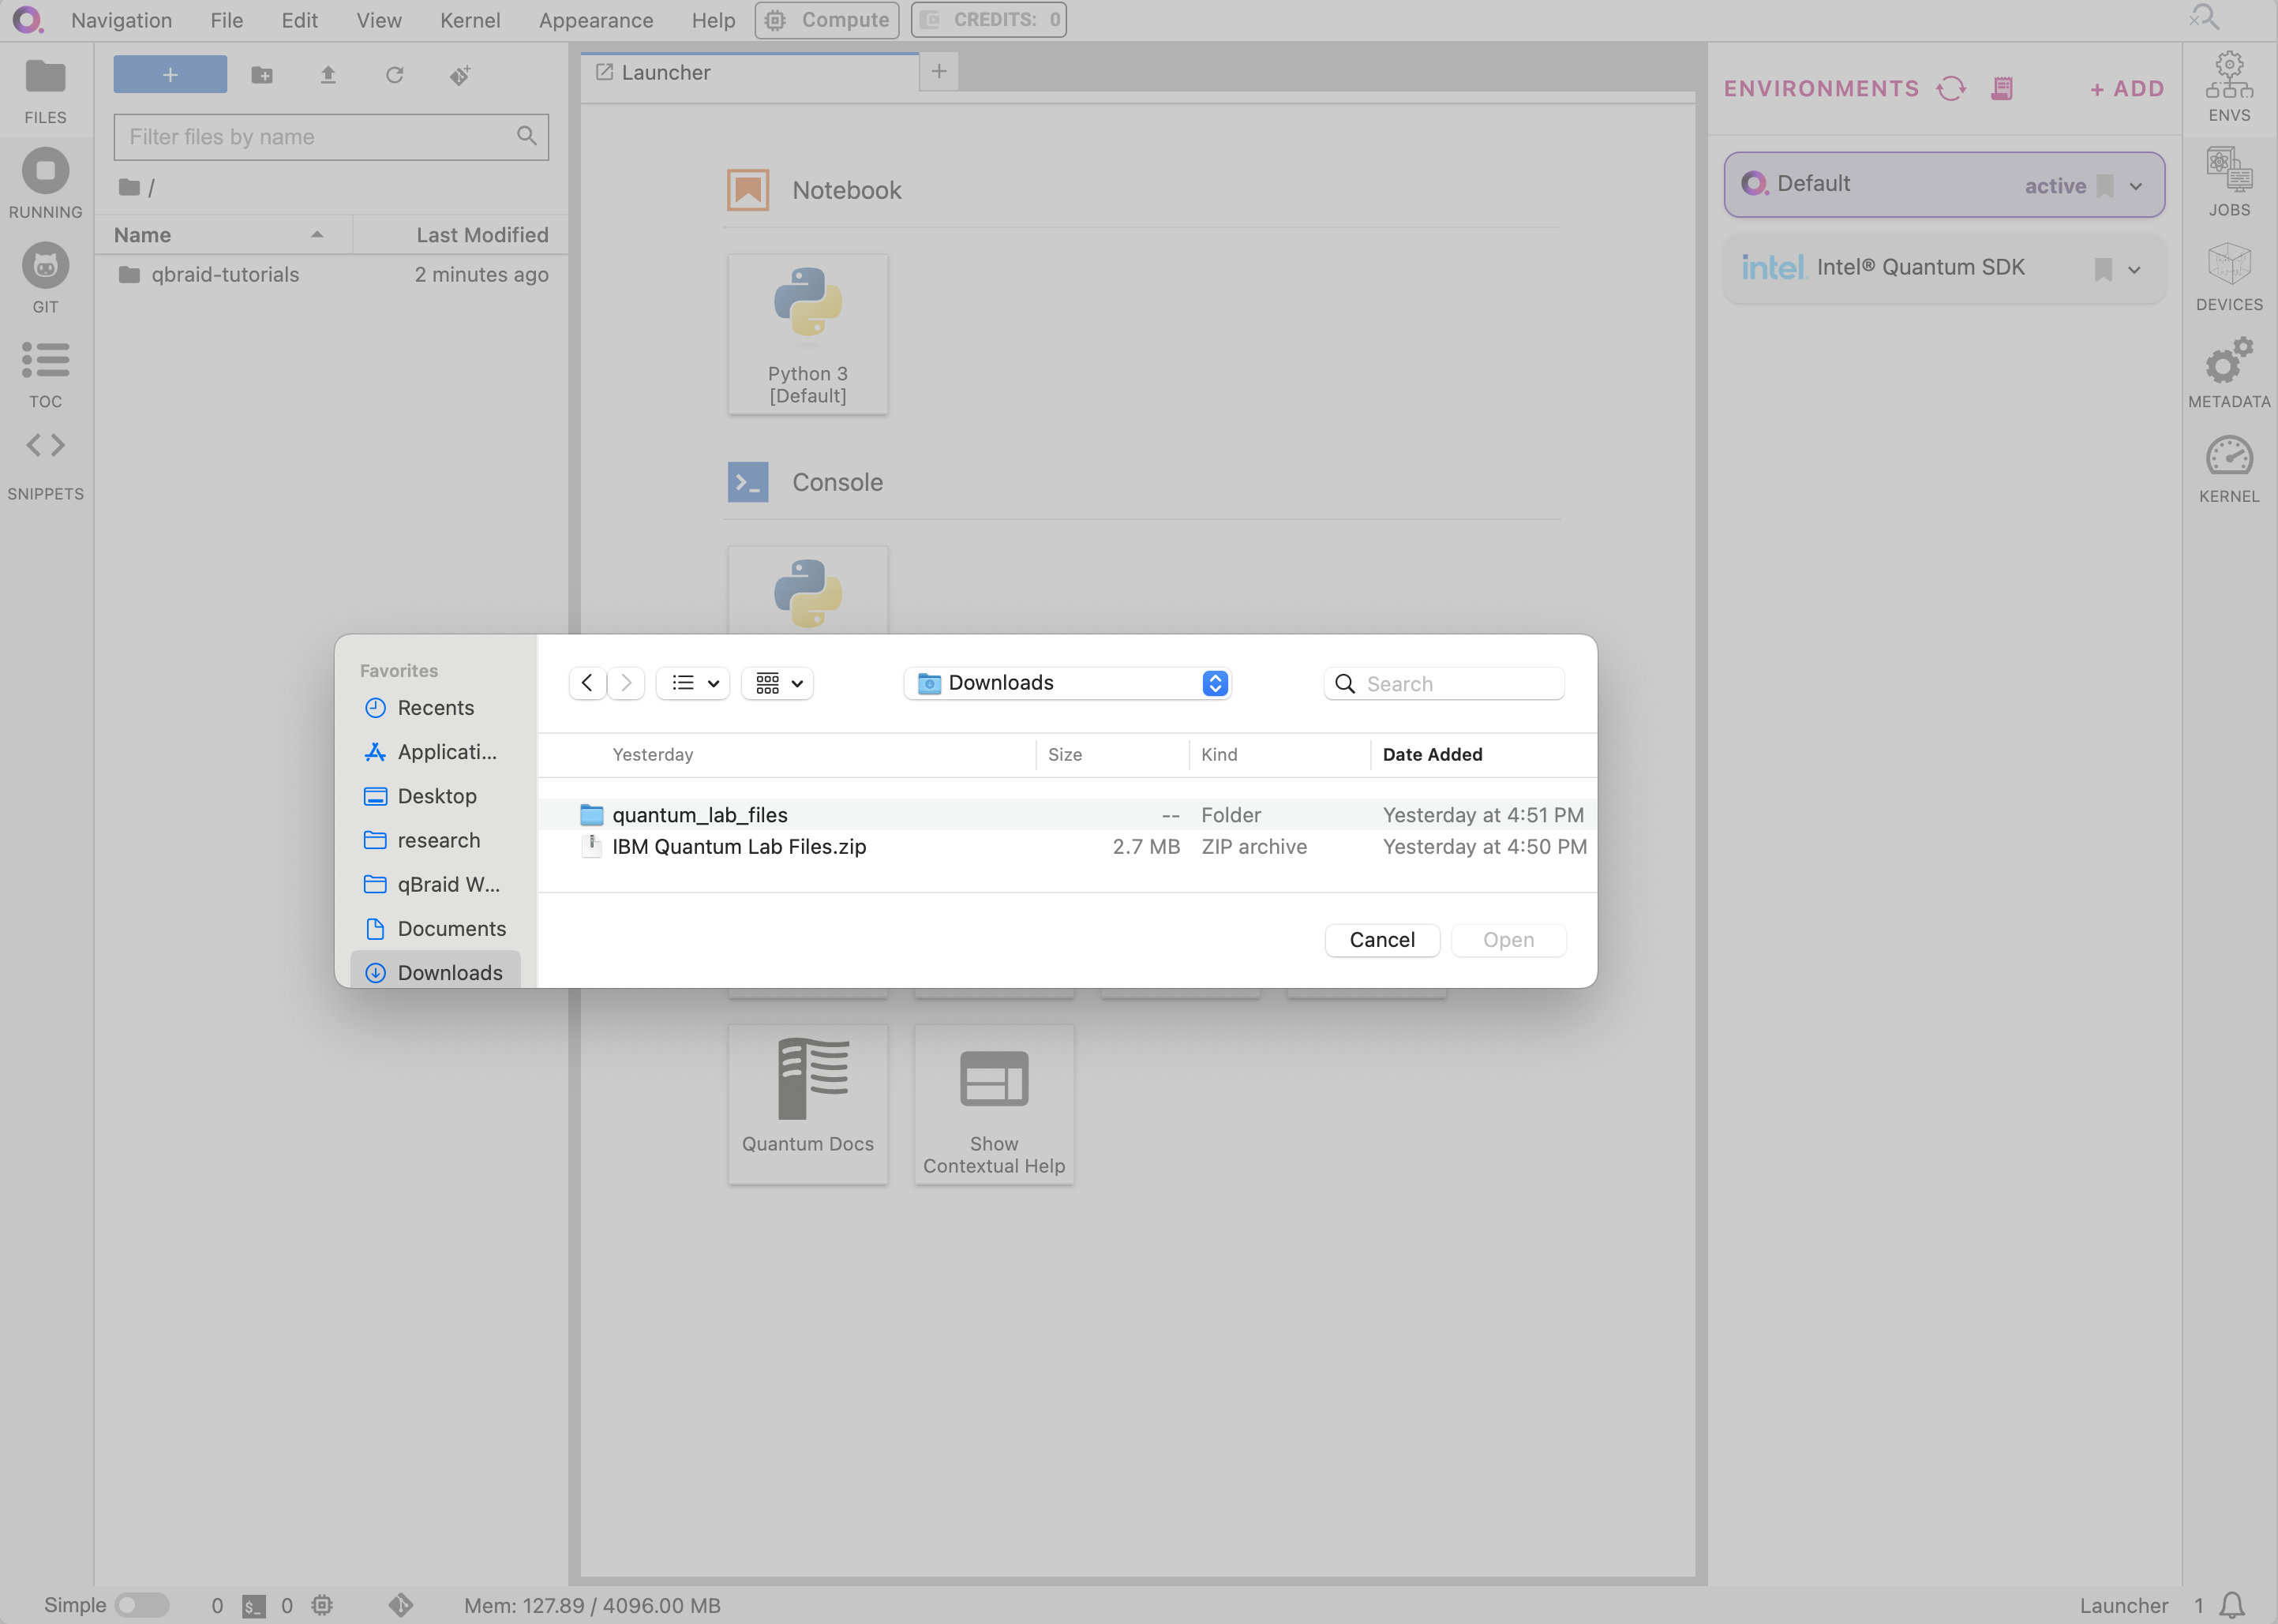
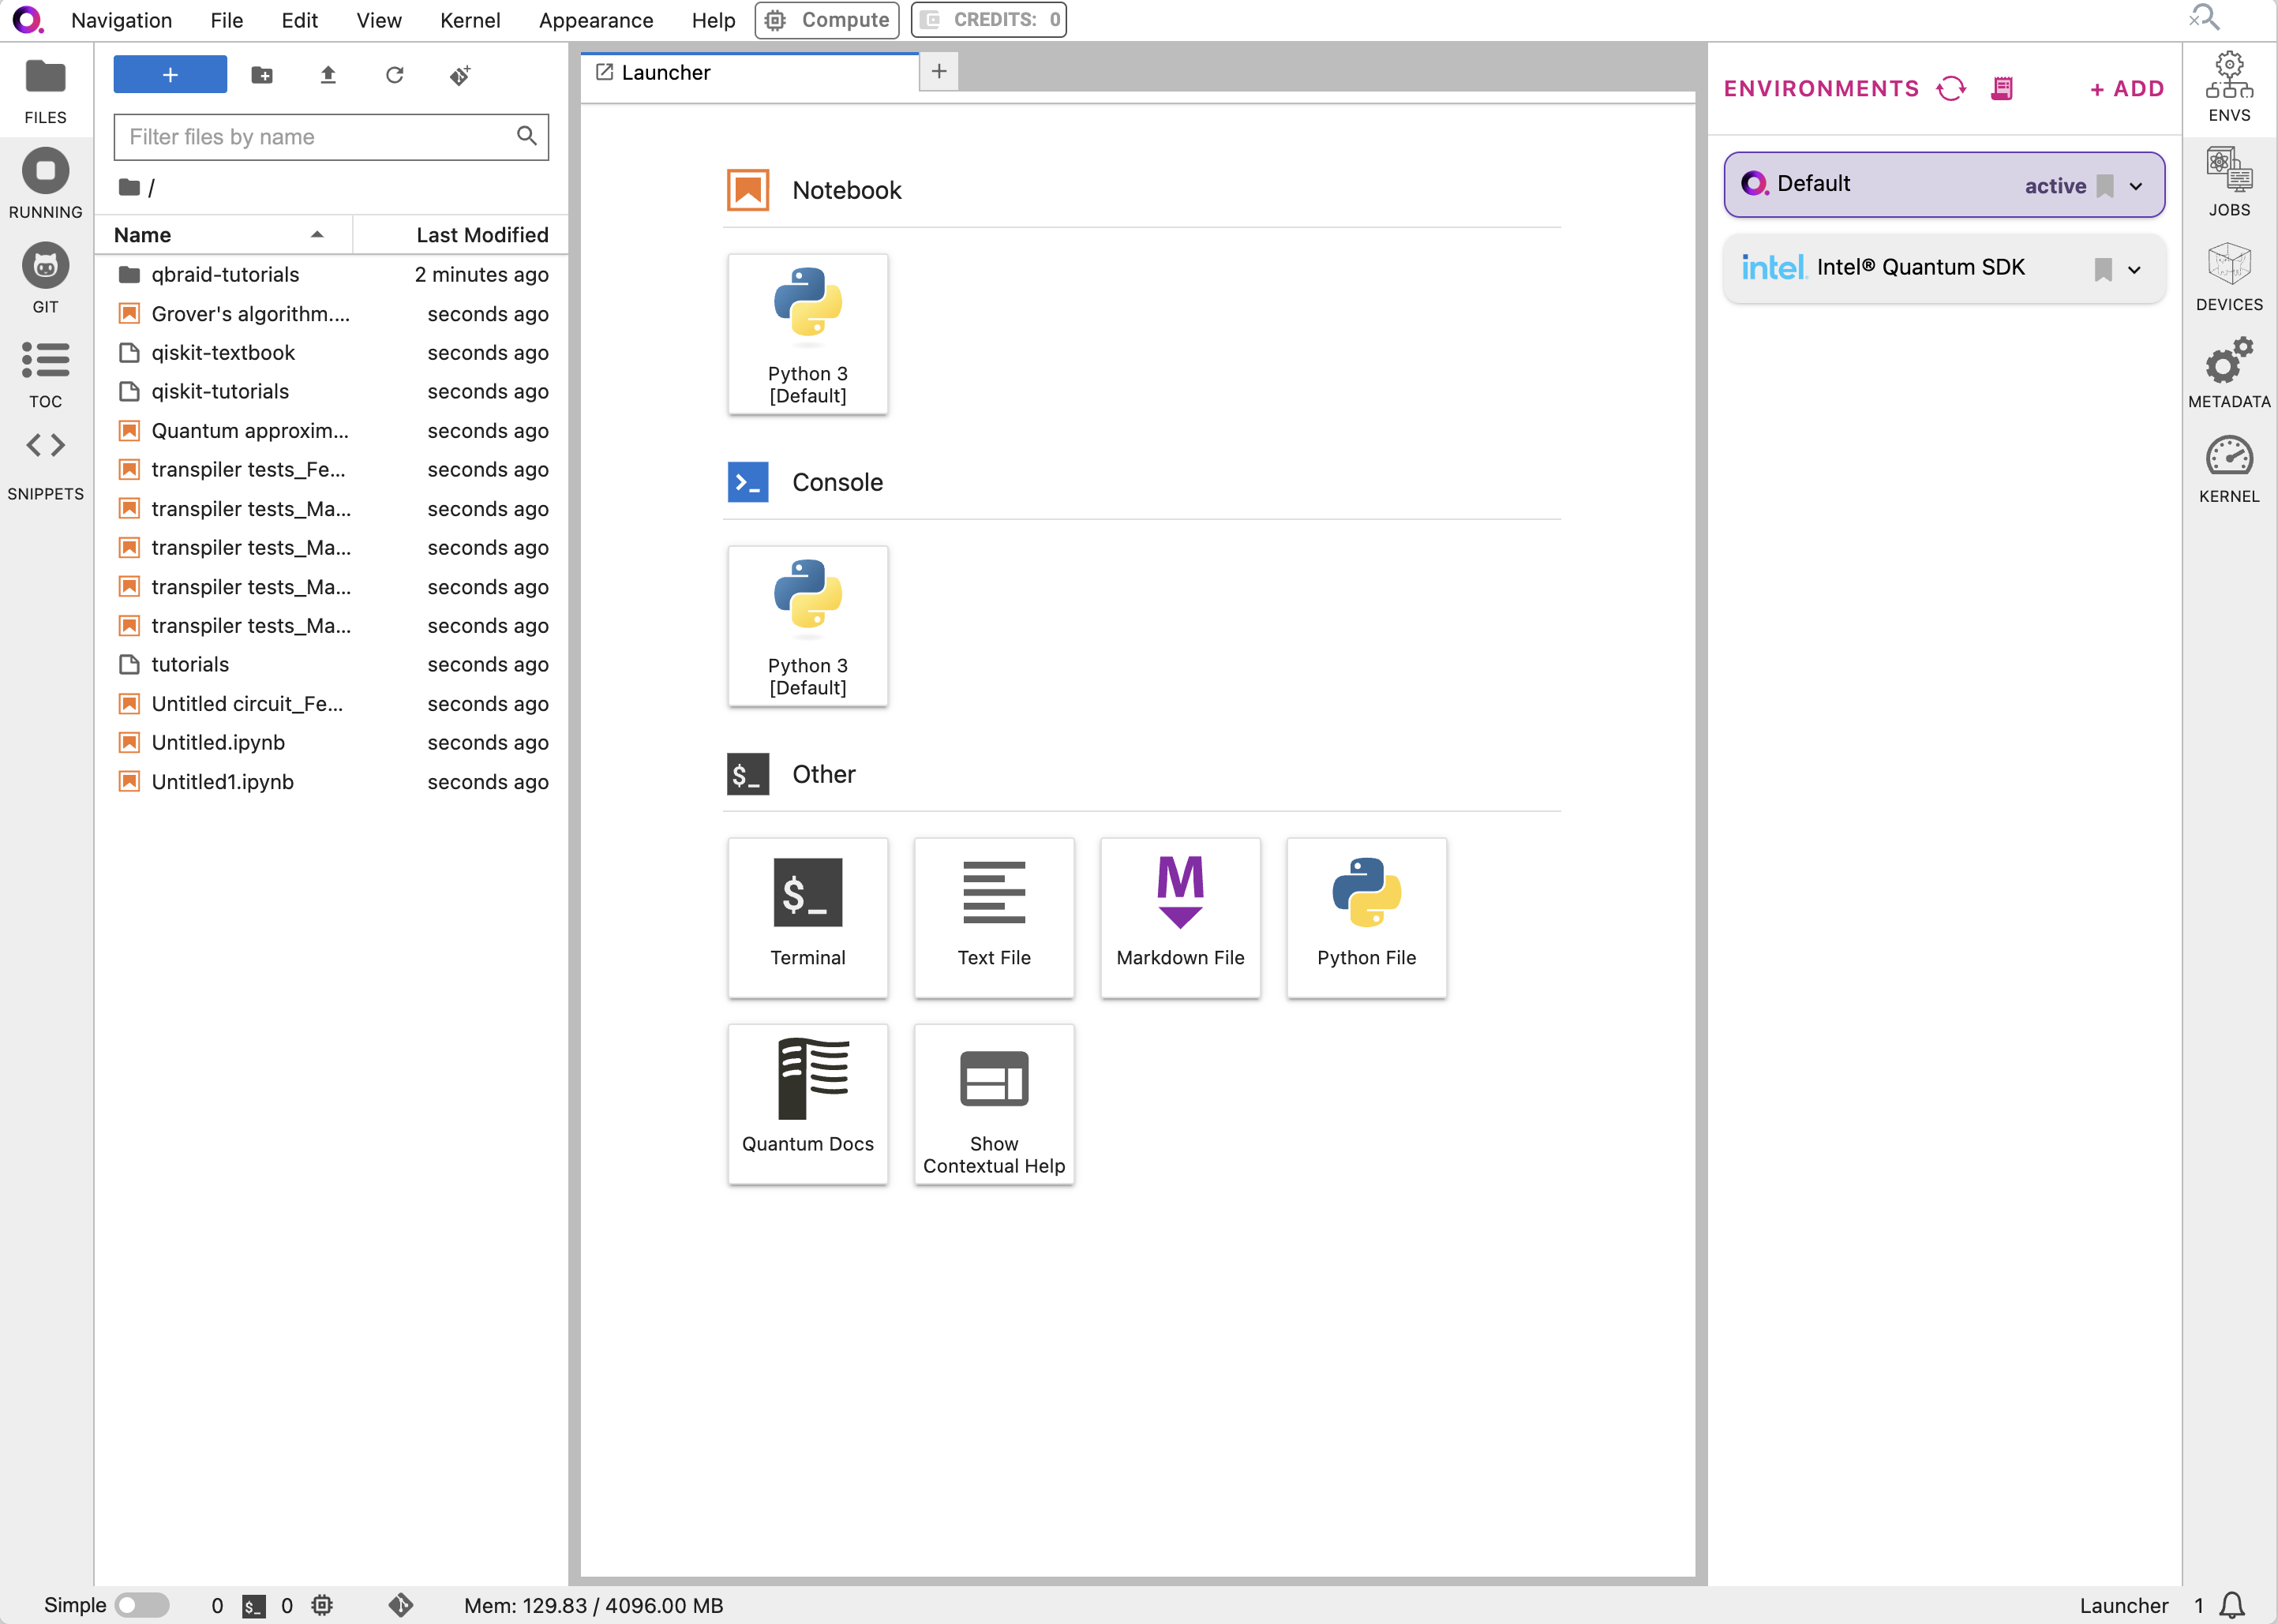
Step 4: Execute
After all your files are uploaded, you can choose the environment you’d like to run them in. qBraid has a premium pre-installed Python environment with 135 relevant packages available. There are also customizable Qiskit environments to support the version that your code is written in.4a. Navigate to the Environments icon in the right panel.
The qBraid environment is pre-selected, but you have the option to change this.