Documentation Index
Fetch the complete documentation index at: https://docs.qbraid.com/llms.txt
Use this file to discover all available pages before exploring further.
Connect to Remote Environments
Connecting your qBraid Lab account to Visual Studio Code enables running Jupyter Notebooks on your local machine while still accessing the pre-packaged environments, compute resources, and other software and API’s available through qBraid Lab. NOTE: you must have a running instance of qBraid Lab to connect to it from VS Code. See Managing Compute Resources for more details- Install the Jupyter extension for VS Code.
- Open any jupyter notebook file (
.ipynb) in VS Code. - Navigate to the kernel selector, and then select click on Select Kernel.

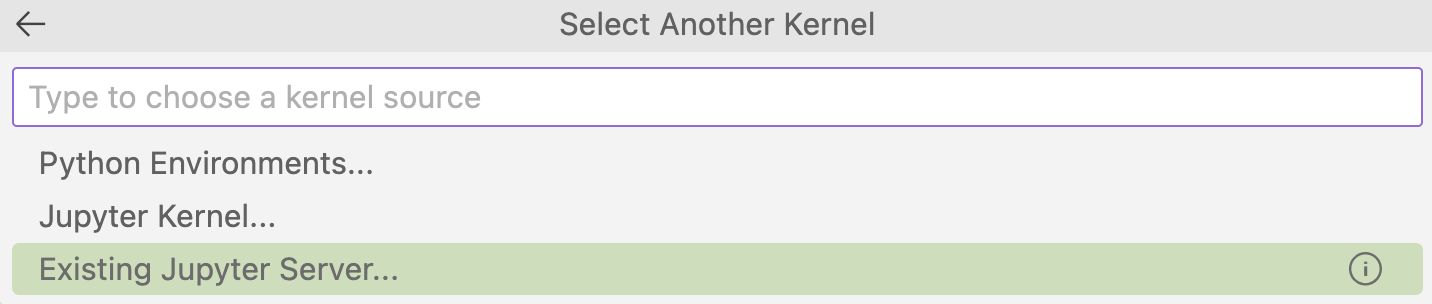
- Click on Select Another Kernel to change the execution kernel of the notebook -

- Select Existing Jupyter Server to connect to the remote qBraid Lab server -
- Copy your notebook server URL by clicking on the cloud icon inside the environment manager extension -
- Paste the URL into the input box in VS Code and hit enter -

- Create or open a new notebook, and select a notebook kernel from any of your installed and active qBraid Lab environments.