> ## Documentation Index
> Fetch the complete documentation index at: https://docs.qbraid.com/llms.txt
> Use this file to discover all available pages before exploring further.
# Agent Mode
> Execute quantum computing workflows through natural language
Agent Mode transforms qBraid AI from a conversational assistant into an **execution engine**. Instead of just answering questions, the AI takes direct action — writing and running code, submitting quantum jobs to real hardware, and analyzing results. Tell it what you want to accomplish, and it handles the implementation while keeping you in control with approval checkpoints for critical actions.
## What is Agent Mode?
Agent Mode gives the AI the ability to act within your qBraid environment. It connects directly to your qBraid VS Code instance, where it can write code, execute scripts, install packages, and run quantum experiments — all driven by your natural language instructions. For sensitive operations like submitting jobs to quantum hardware, the agent asks for your approval before proceeding.
**With Agent Mode, the AI can:**
* Write and execute Python code in your VS Code environment
* Build quantum circuits using any supported framework (Qiskit, Cirq, PennyLane, etc.)
* Submit jobs to QPUs and simulators (with your approval), then analyze the results
* Debug errors, refactor code, and iterate until the task is complete
* Chain multiple operations into end-to-end quantum workflows
## Enabling Agent Mode
To enable Agent Mode:
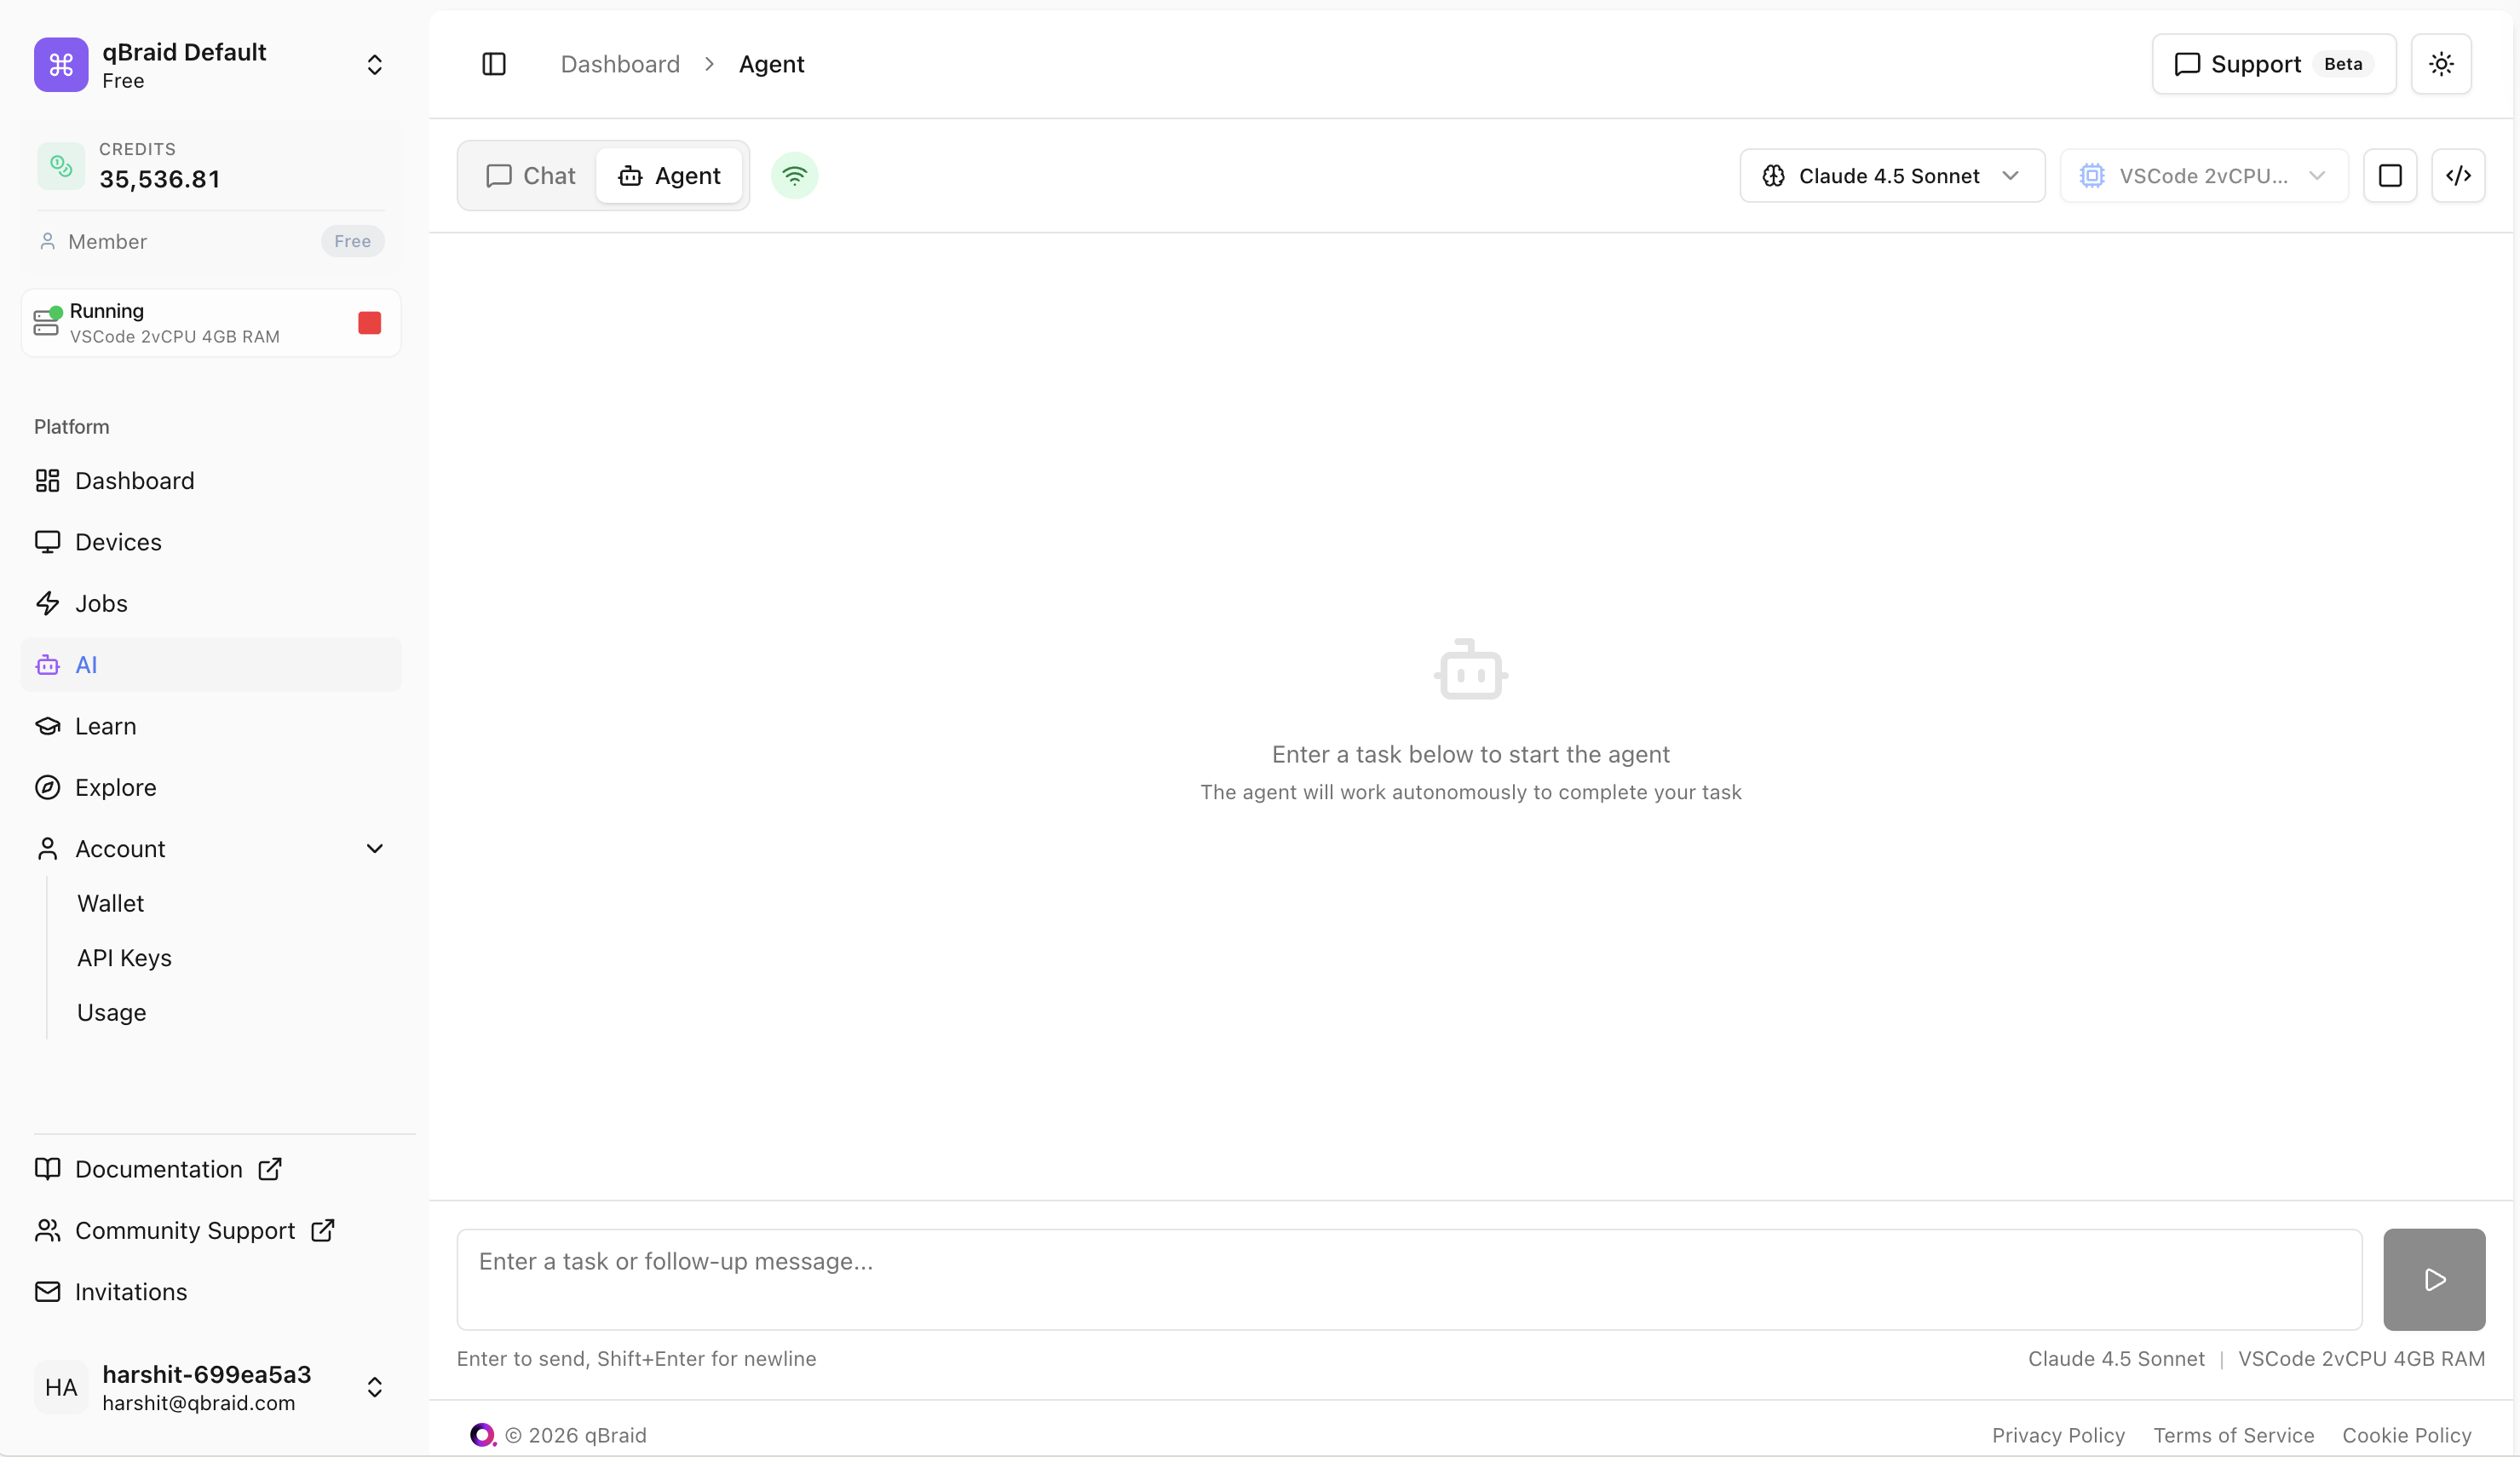
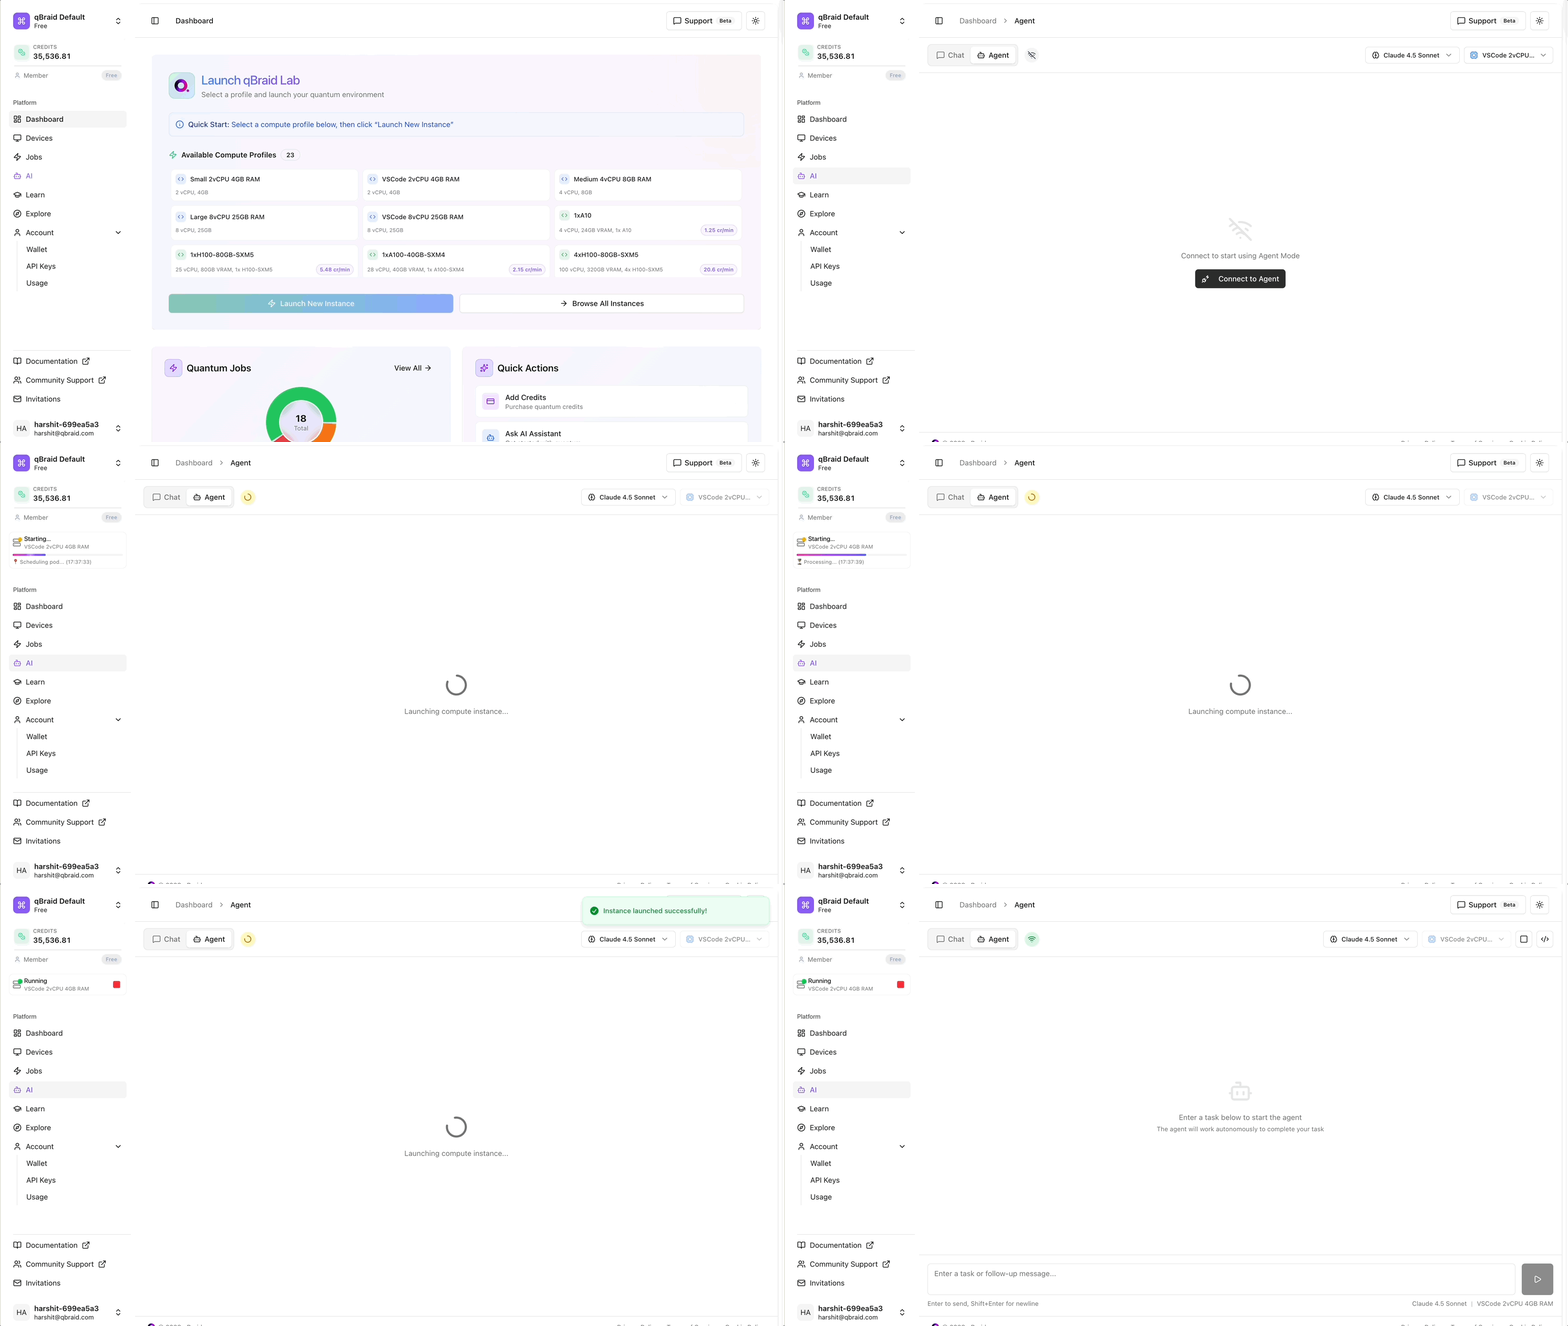
1. Open the AI Chat panel in qBraid Lab
2. Select the **Agent Mode** toggle at the top of the chat interface
3. Click on **Connect to Agent**
4. The chat will indicate when Agent Mode is active
Agent Mode actions consume additional AI credits compared to standard chat
queries. See [Usage Quotas](/v2/ai/user-guide/usage-quotas) for details.
## Complete Workflow Example
Let's walk through a complete quantum computing workflow using Agent Mode — from exploring devices to retrieving job results.
### Step 1: Query Device Details
Start by asking the AI about available quantum devices.
**Your prompt:**
```
What simulators are currently available on qBraid?
I want something fast for testing a 2-qubit circuit.
```
**The AI will:**
* Query the qBraid device API in real-time
* Filter for available simulators
* Recommend options based on your requirements
* Display pricing and expected execution times
### Step 2: Select a Device
Based on the AI's recommendations, specify which device you want to use.
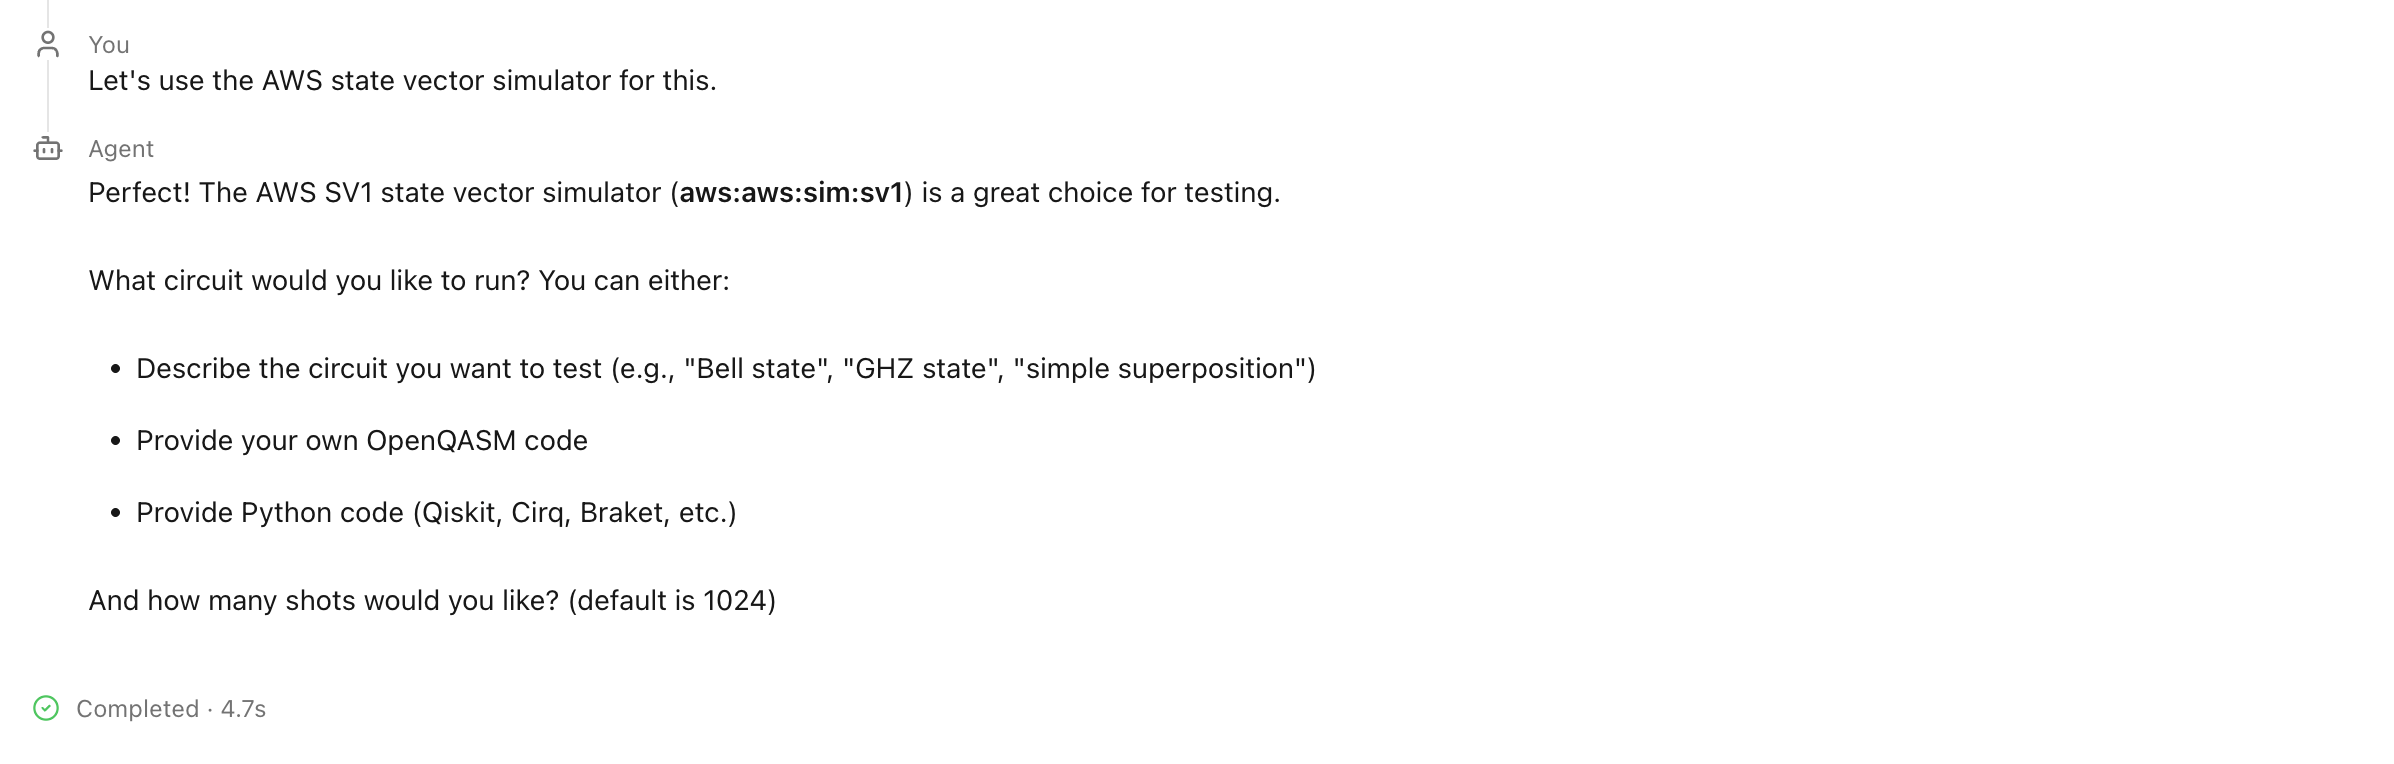
**Your prompt:**
```
Let's use the AWS state vector simulator for this.
```
**The AI will:**
* Confirm the device selection
* Display the device ID for reference
* Prepare for job submission
### Step 3: Submit a Bell State Circuit
Now instruct the AI to submit a quantum circuit to the selected device.
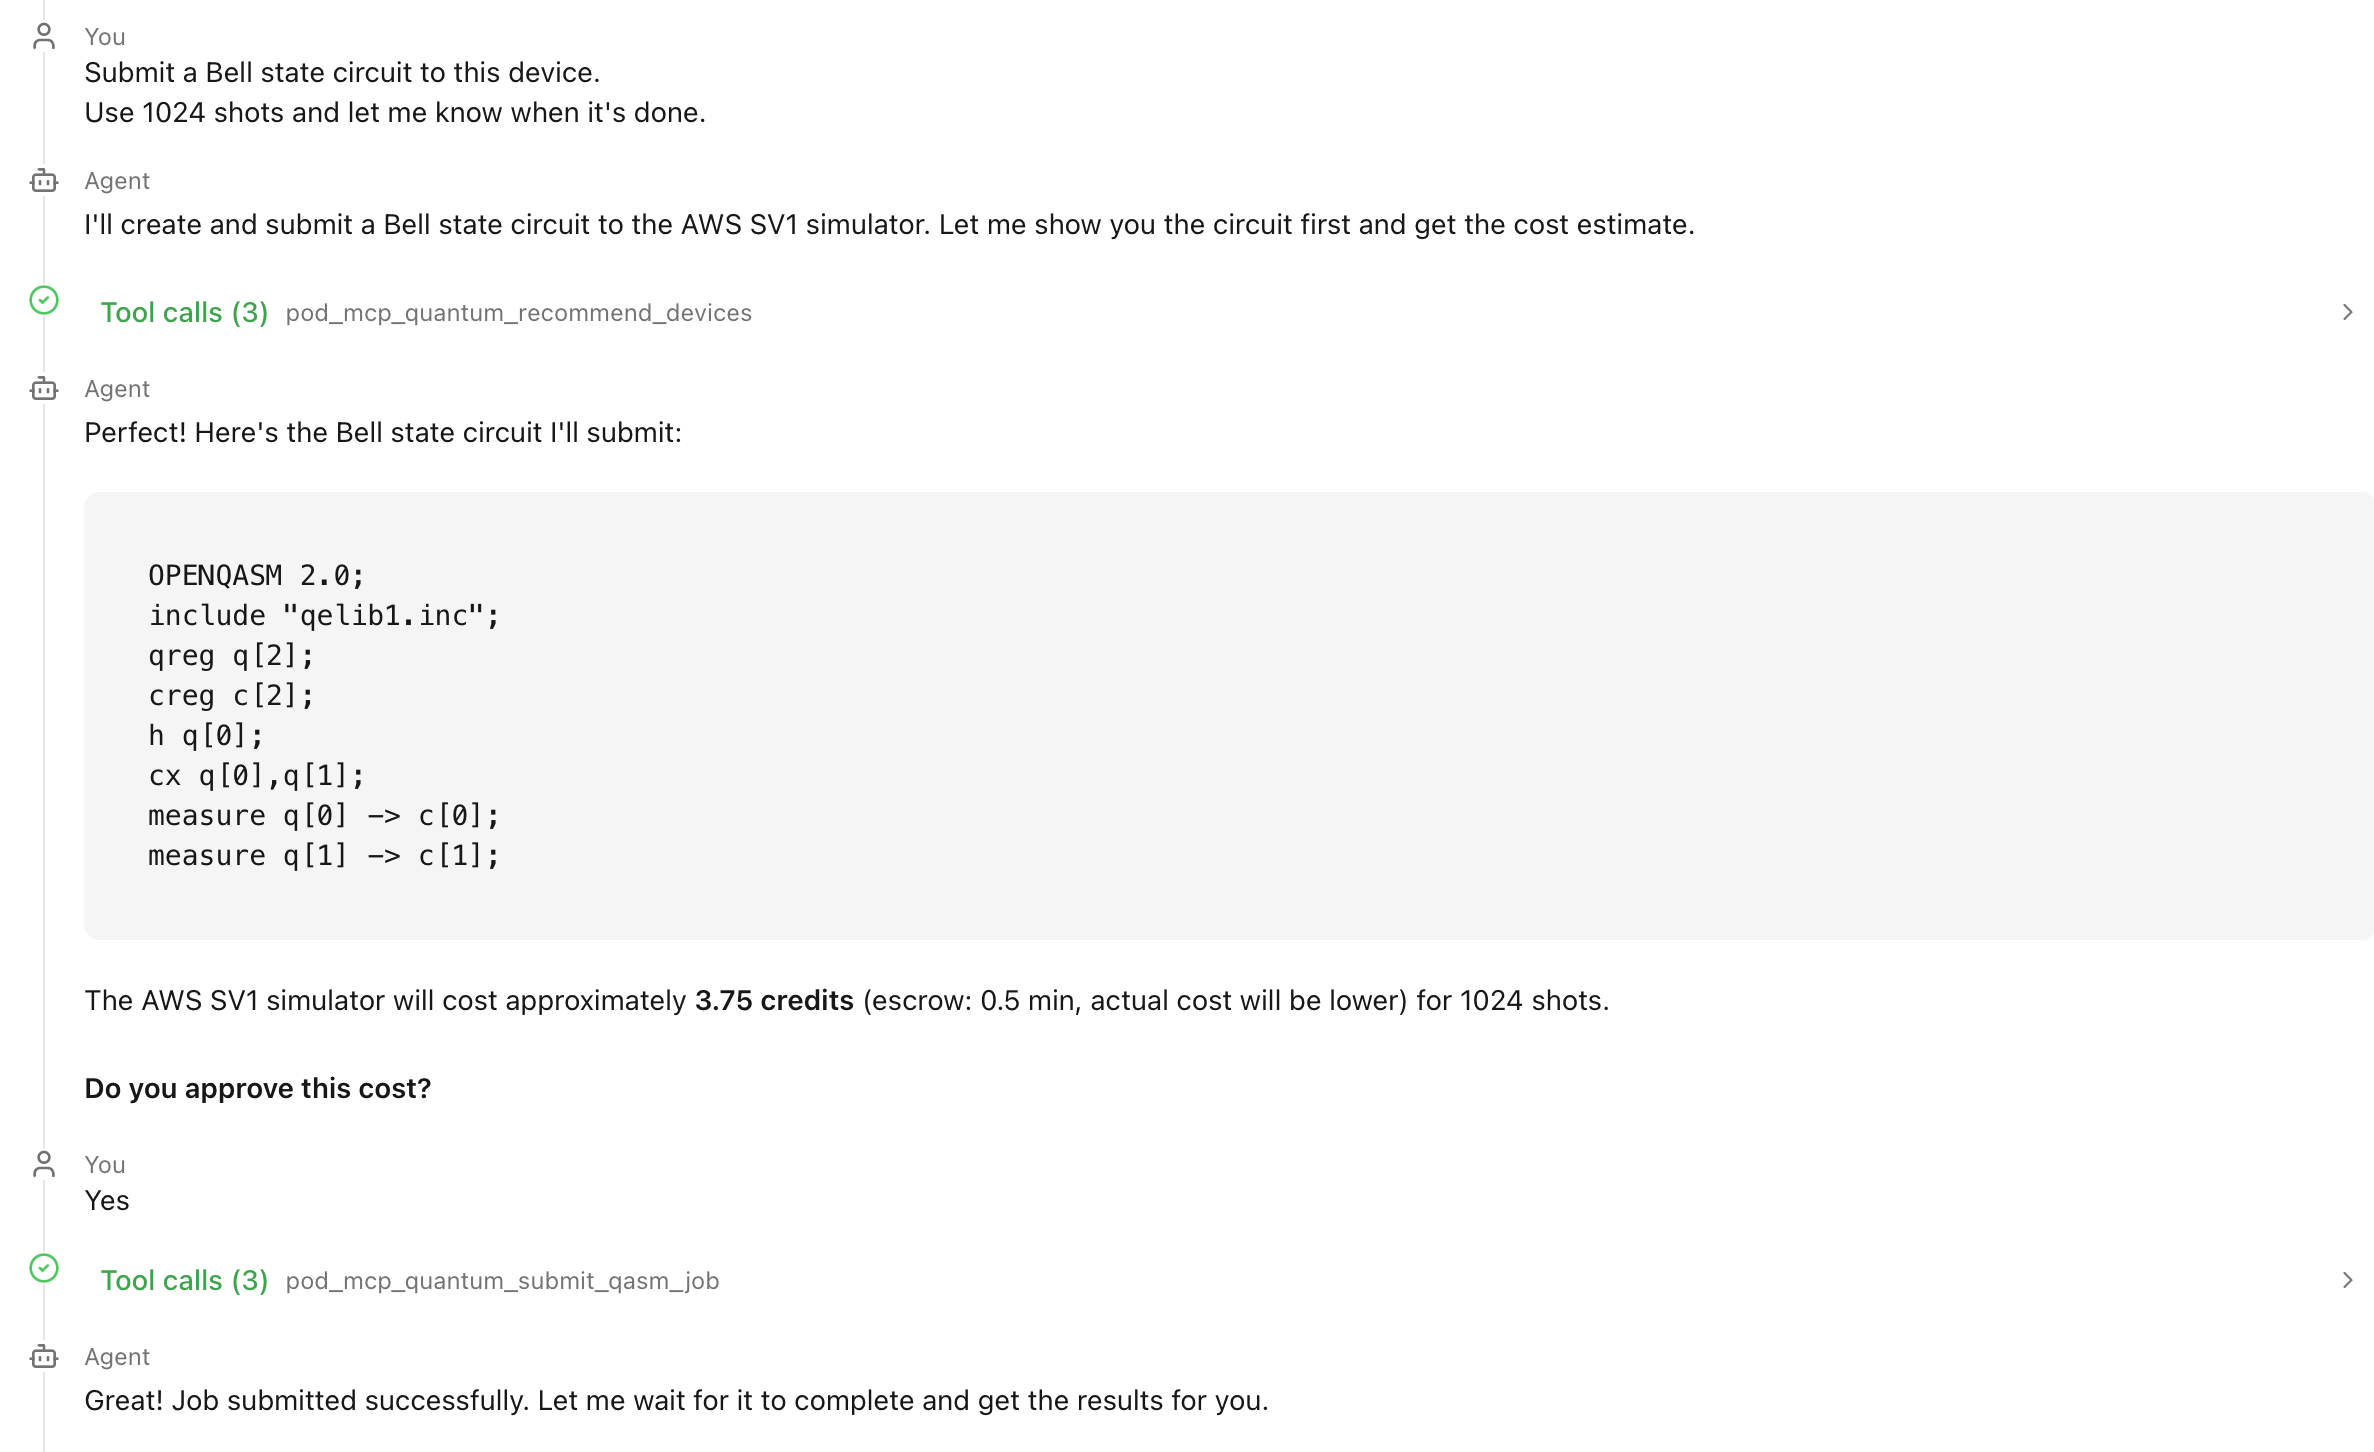
**Your prompt:**
```
Submit a Bell state circuit to this device.
Use 1024 shots and let me know when it's done.
```
**The AI will:**
* Generate the Bell state circuit (H gate on qubit 0, CNOT on qubits 0-1)
* Submit the job to the selected simulator
* Return the job ID for tracking
* Optionally wait for completion
### Step 4: Verify Job in Sidebar
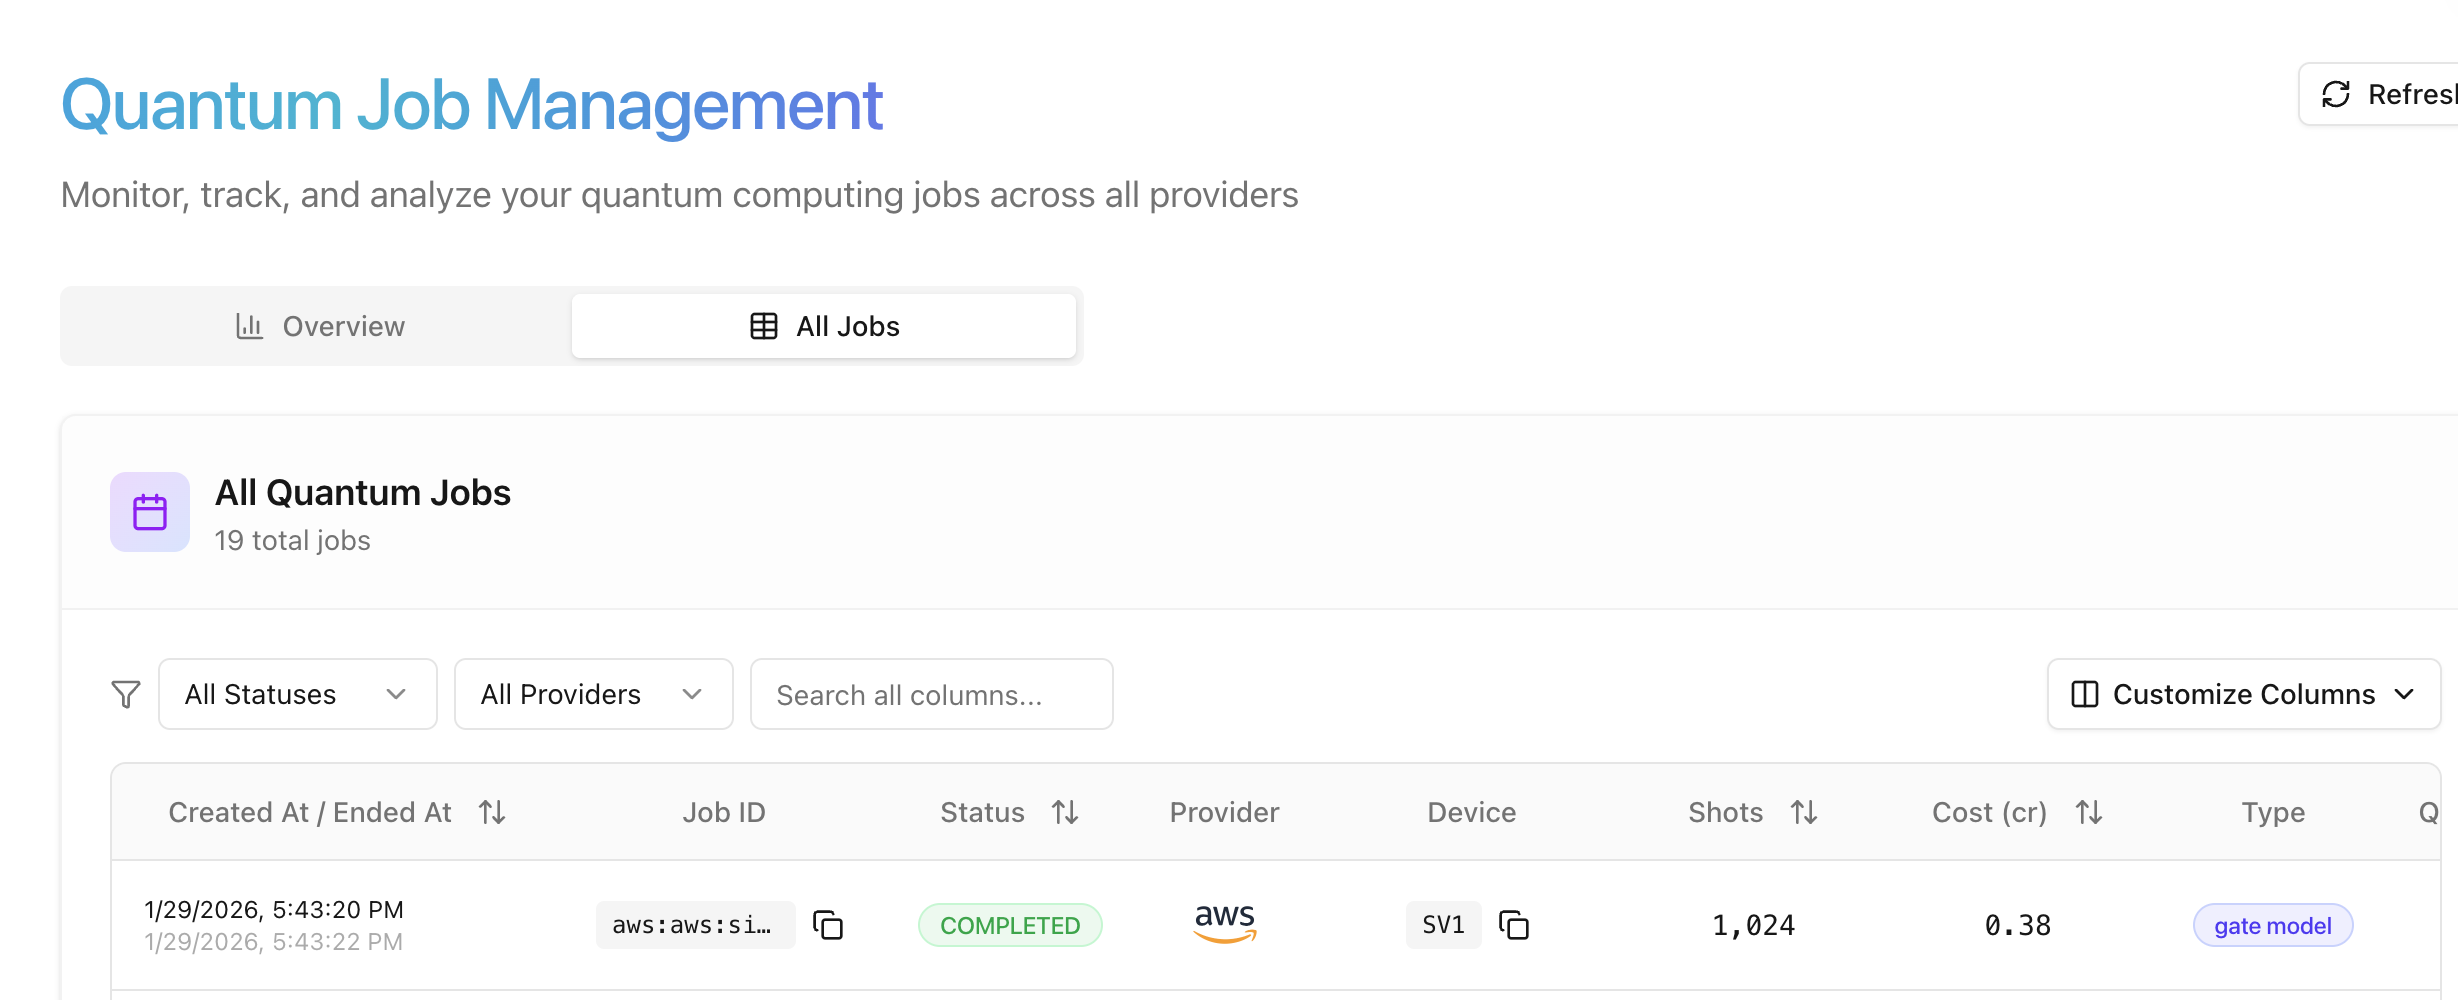
The submitted job will appear in the Quantum Jobs sidebar for visual tracking.
You can:
* View the job status in the **Jobs** sidebar
* Click on the job for detailed metadata
* Use the agent to cancel if needed
### Step 5: Retrieve Results
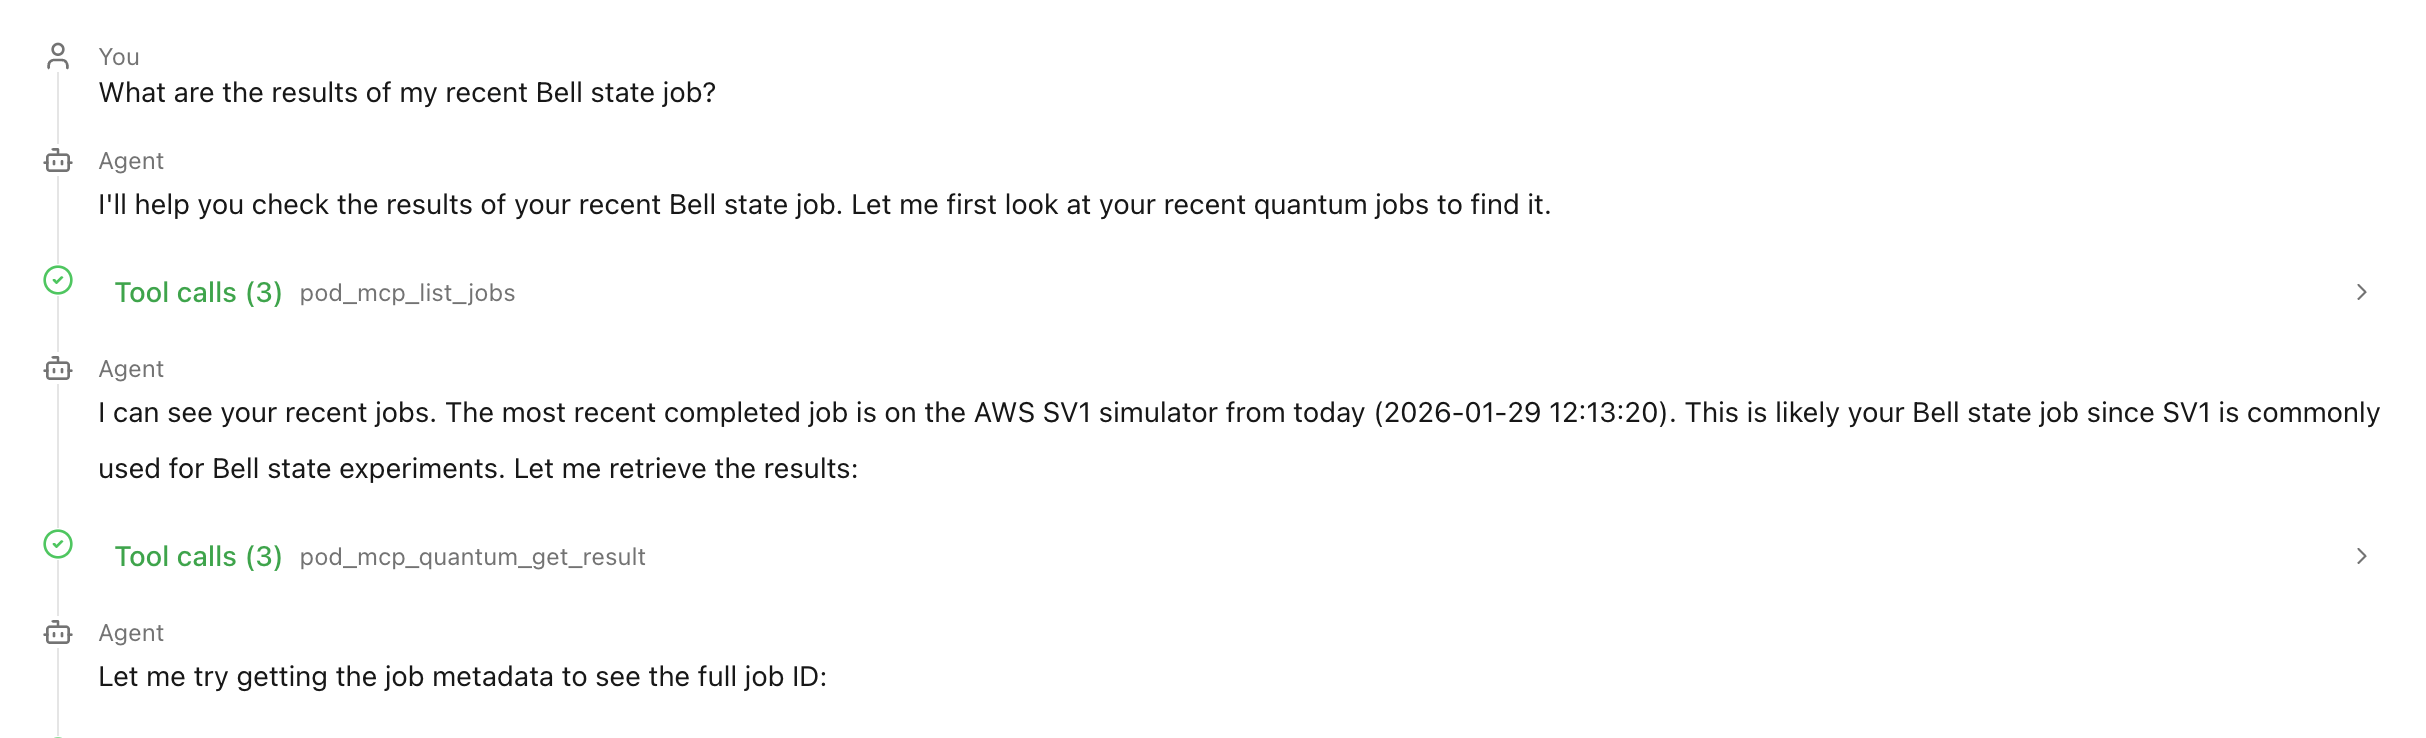
Once the job completes, ask the AI for the results.
**Your prompt:**
```
What are the results of my Bell state job?
```
**The AI will:**
* Fetch the job results from the qBraid API
* Display measurement counts
* Provide analysis of the results
Agent Mode capabilities are continuously expanding. Check back for new actions
or request features through [qBraid support](mailto:contact@qbraid.com).
## Best Practices
Begin with basic queries before chaining complex workflows. This helps you understand how the AI interprets your requests.
{" "}
Use action words like "submit," "run," "get," or "cancel" to make your intent
clear.
{" "}
Include details like shot count, device preferences, and circuit
specifications in your prompts.
Reference job IDs when asking about specific jobs to avoid ambiguity.
## What's Next
Learn about [Usage Quotas](/v2/ai/user-guide/usage-quotas) to understand how AI Chat and Agent Mode usage is tracked and how to manage your monthly allocation.